A few weeks ago I shared that we’re in the process of moving a bunch of rooms around in the house. Literally every bedroom has changed + my office – you can read about it all here! The first room swap was changing my oldest son, Alec’s bedroom into my new home office, and we’ve been busy moving around furniture, purging and organizing closets, painting, and so much more. I’ve been documenting all the daily details on Instagram, so if you haven’t been following along there, that’s a great place to catch up on the progress!
I’m starting to wrap up the boring, tedious parts of home renovation and finally able to work on the fun stuff – styling my brand new home office.
Some of you may remember the vintage gallery wall I installed in my master bedroom a few years ago, and because that room is now becoming my son’s bedroom, he wanted the floral, girly art prints removed from his wall immediately. The frames I so carefully curated have just been sitting in a pile on the floor, and the other day I came up with a plan to re-purpose them in my new office…
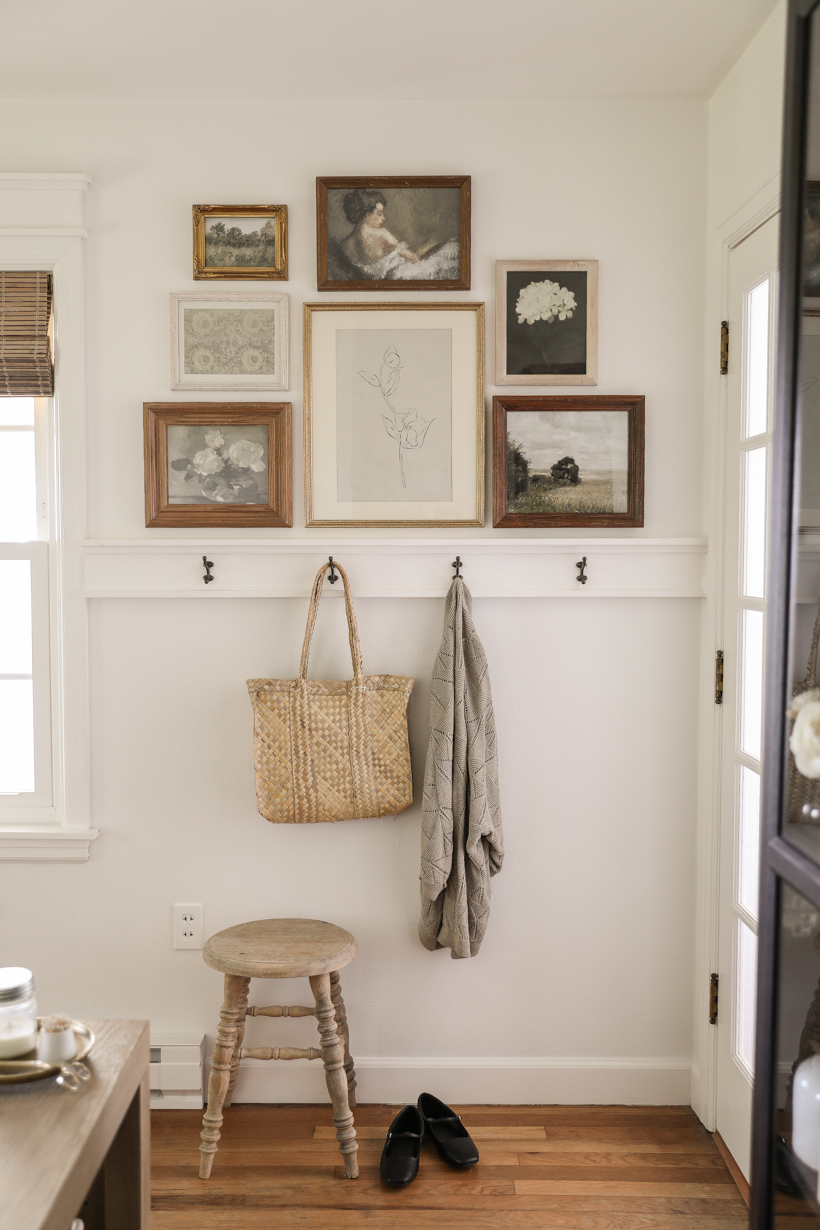
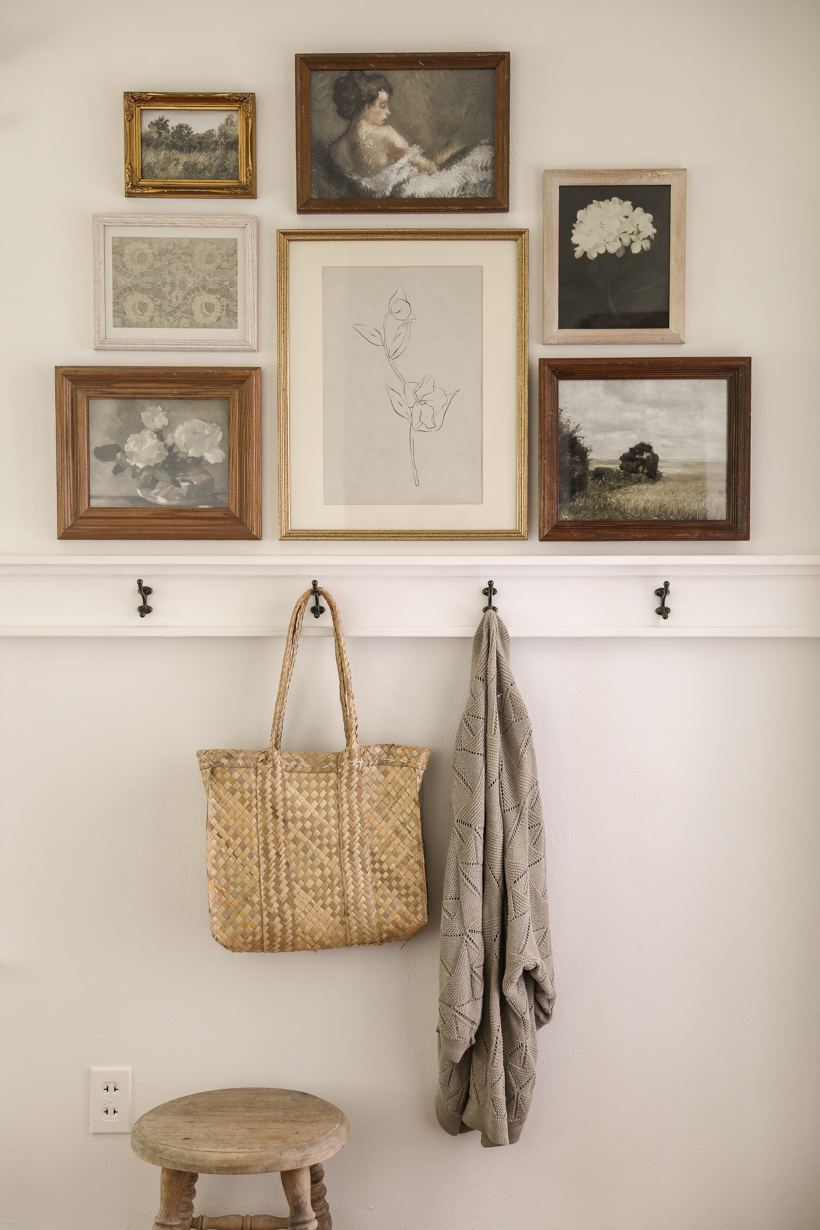
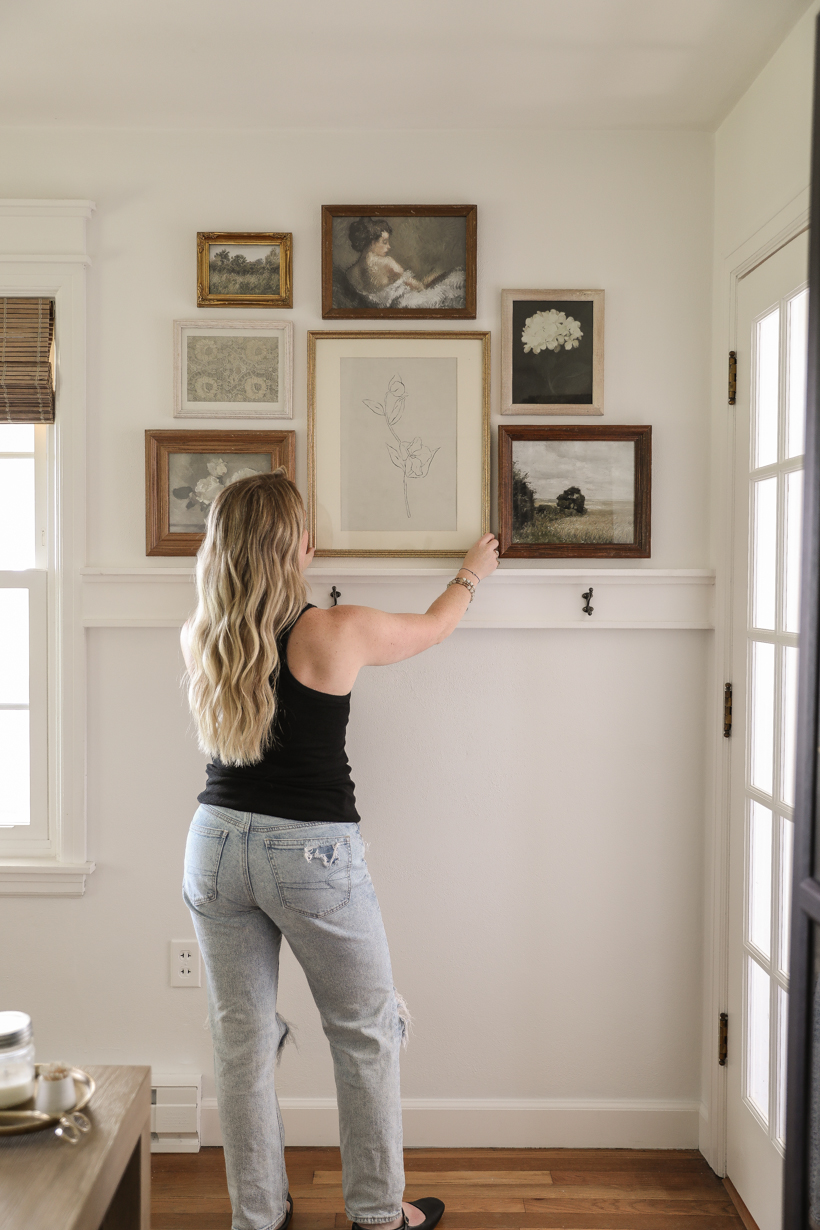
Many years ago this room originally used to be the boys’ playroom, and I added some trim and hooks to this wall to hold their backpacks, lunch boxes, sports bags, and coats. I don’t really have a need for the wall hooks now, but I do like the added detail and interest to an otherwise blank white wall.
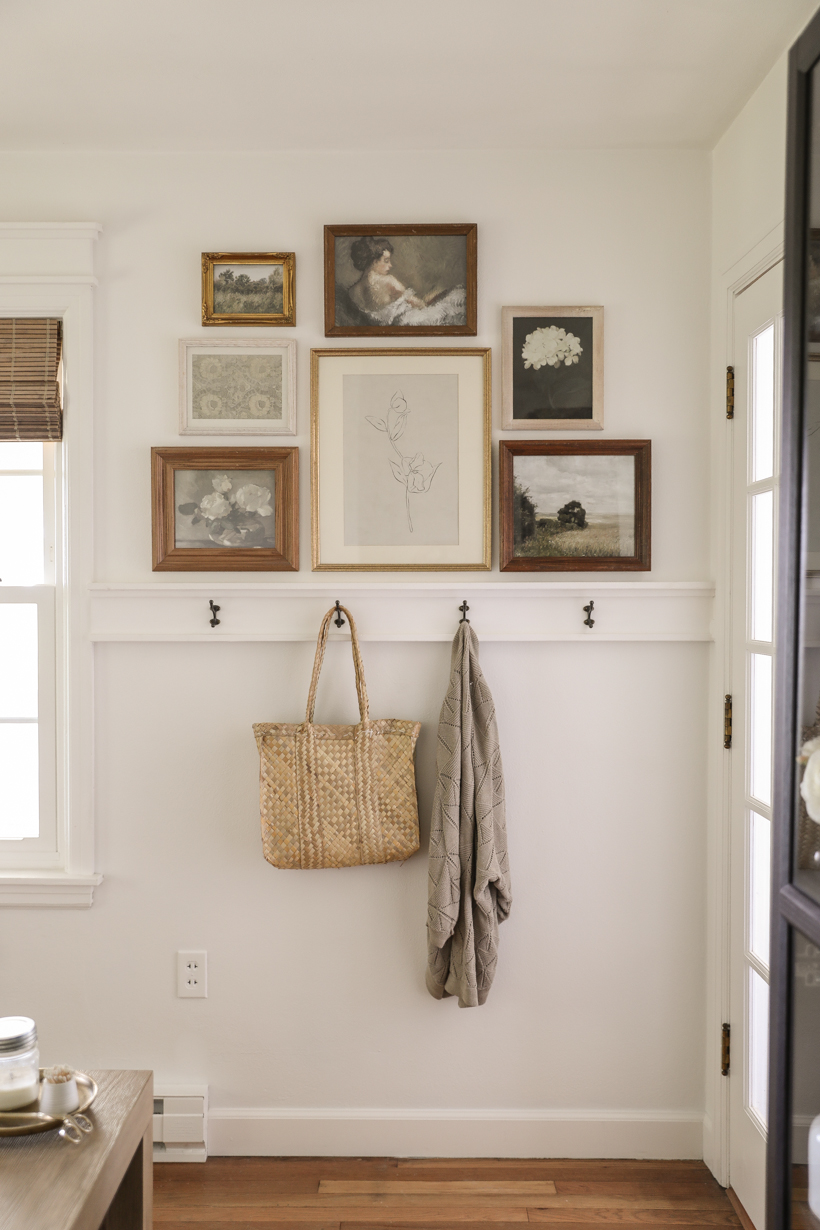
I couldn’t help but think that this little ledge would be the perfect place to display some art, so I grabbed some frames from my deconstructed gallery wall to play around and quickly fell in love with the charm and character that now filled the space. Minutes later I had my tools out, strategizing the re-imagined placement for my new gallery wall.
The method I used was a little different this time around –
In my former master bedroom, the walls were oddly shaped with a sloped ceiling, so I actually sketched the wall out on graph paper and planned out the frame placement that way so it would flow with the angle of the wall nicely. You can read all the details on how I did that here.
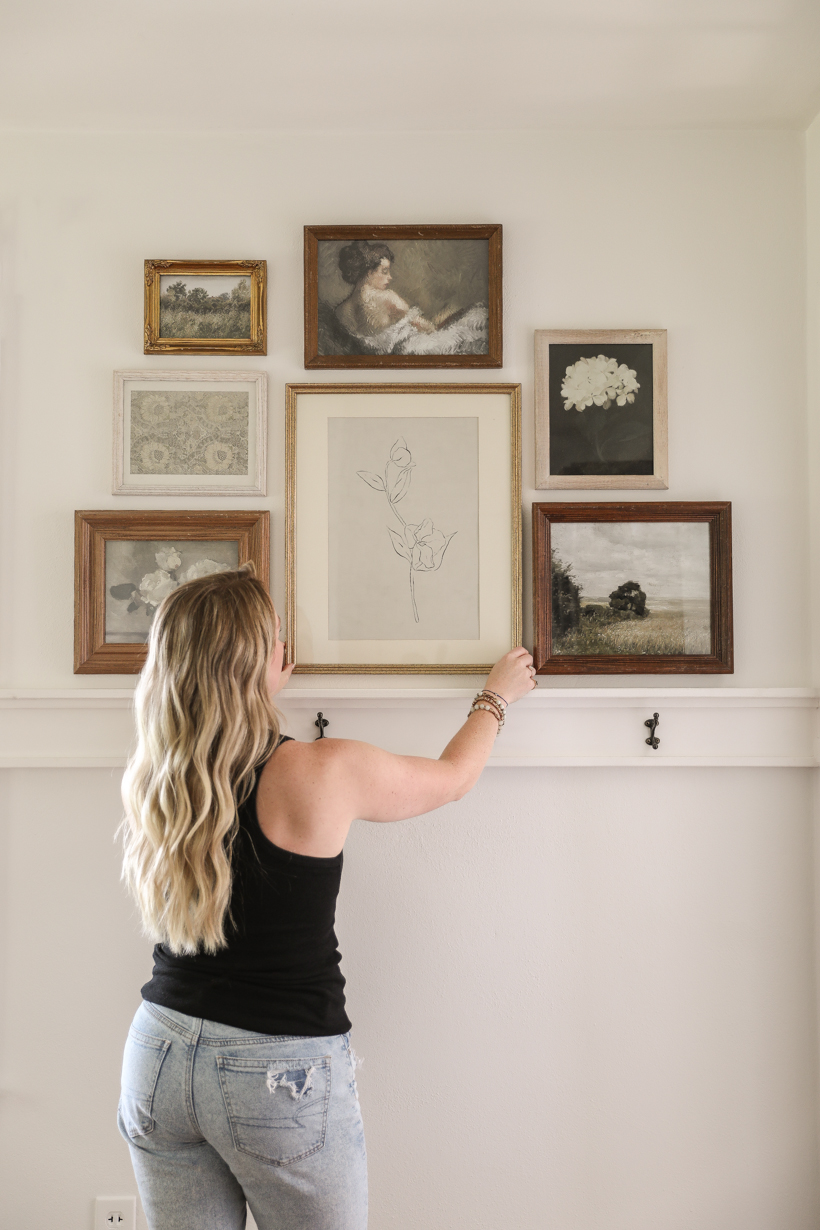
In my new office, I had a much smaller, but perfectly rectangular space to work with, so I just grabbed some painter’s tape and created a rectangle on the floor with the exact dimensions of the wall above the trim and hooks. This allowed me to visually imagine the layout by moving frames around in the taped off area before I started putting holes in the wall.
I started with the largest frame in the center, then worked on spacing out the different frame finishes – gold, natural wood, and whitewashed wood. I lined up the bottom frames with the straight edge of the trim and built upwards from there, leaving about a 1-1.5” gap between each frame.
TIPS FOR SOURCING VINTAGE STYLE FRAMES
Most of us have unused frames sitting around the house, so I always suggest shopping your home first. Or check with family members to see if they have any old frames they want to get rid of. But if you need to go out and buy picture frames, I recommend checking thrift stores to look for the most affordable options or antique stores if you’re having a hard time finding ones that fit the look you’re going for.
Look for wood frames with moulding or carved wood details. I personally like either dark walnut or lighter cool toned/whitewashed wood vs. the more bright orange toned wood. I also like to mix in a few more ornate gold/brass frames to add some variety. Gather various shapes, sizes and finishes, and buy a few more than you think you’ll need. That way, once you get home and are working on layout, you’ll have options.
One thing to pay attention to is the mat, if your frame comes with one. Showcasing your vintage-style artwork inside a crisp, bright white mat tends to take away from the vintage appeal, so I recommend removing the mats from all your frames, unless it’s a softer, more antique white that looks accurate with the age of the frame and artwork.
TIPS FOR CHOOSING ARTWORK
It may seem daunting to choose even one art print, let alone a whole collection, but I have a tip to make it super simple. Go on Etsy and search for “vintage art print set”. You’ll find thousands of listings for groups of artwork perfectly curated and ready to print in any size you need. North Prints and Olive & Oak are two sellers that I use often for really affordable vintage prints.
To help me decide what prints I want in which frame, sometimes I’ll uploaded them to a blank canvas in Canva to help me visualize the scale and placement of each print.
HERE ARE A FEW PLACES TO PRINT DIGITAL ART:
HERE IS A COST BREAKDOWN FOR THIS PROJECT:
I spent around $17 on 7 thrifted frames.
Less than $10 on digital download artwork.
A few I had previously purchased
Prints: three 8 x 10 + two 10 x 13 + one 12 x 18 + one 5 x 7 = $38
The price starts to increase quite a bit on prints larger than 8 x 10
$65 total
Any questions? Let me know!
SOURCES
click any photo below to shop
As always, I sincerely appreciate you shopping through the links I share, which allows me to make a small commission from your purchase while your purchase price remains the same. When you use my affiliate links, I’m better able to create content for this blog as well as support my family, and I thank you from the bottom of my heart for supporting what I do!



Liz, I love your style! Your blog has always been one of my favorite and I have learned so much about decorating from you. I also love that so many of your ideas are budget friendly yet look like a million bucks! As someone who dislikes social media, thank you for still coming to this space and sharing your creativity with us.