
I have plenty of store-bought holiday decor, but it’s always the handmade ornaments and little craft projects like these darling Yarn Wrapped Christmas Trees that end up being my favorite pieces to pull out year after year. All you need is 3 supplies to make these cute trees, and you can customize the colors to perfectly match your own holiday decor. Check out the tutorial below!

SUPPLIES:
paper mache cones in various sizes – you can find them here, here, or here
chunky yarn – linked a few of my favorites below
hot glue gun – this is the GOAT of glue guns
click any image below to shop
INSTRUCTIONS:
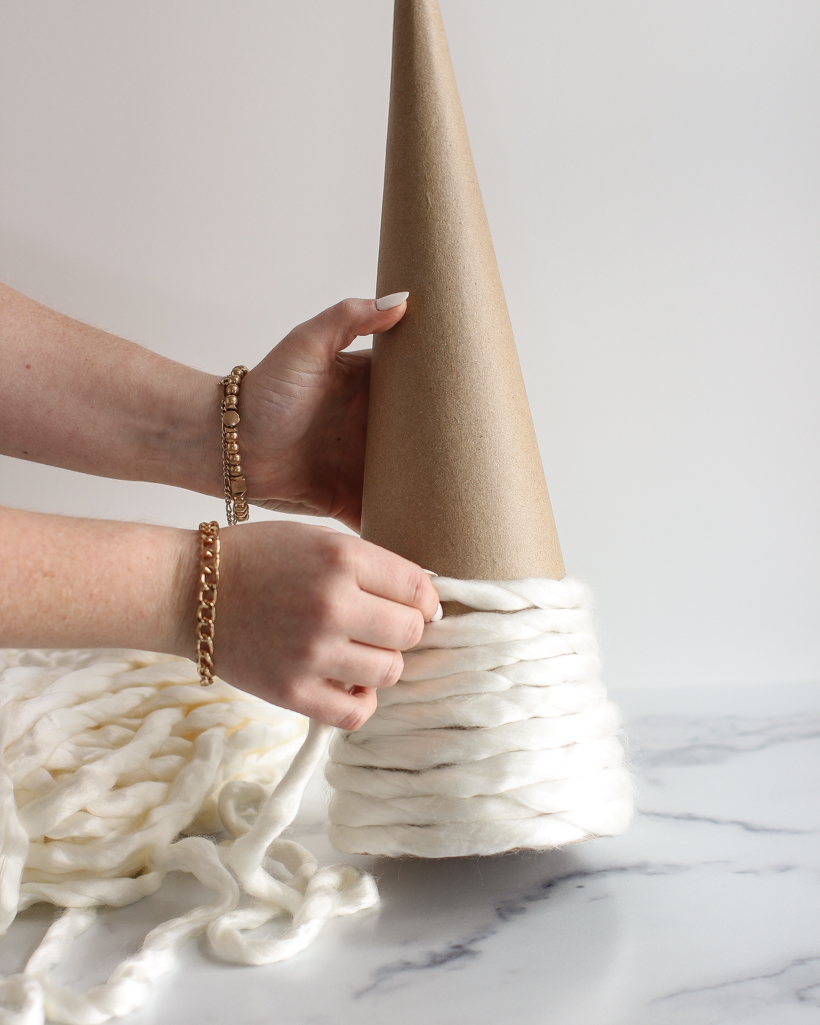
Making a yarn wrapped tree is as simple as you would imagine. Heat up your hot glue gun, glue one end of the yarn along the base of the tree, then wrap around up to the top, adding little drops of glue as you go to hold it in place on the cone. The fluffier or more loose the fibers of the yarn are, the better – it allows you to pull and stretch the yarn to cover up any gaps between layers. You could also give the cone a quick coat of paint to more closely match the color of the yarn you’re using first before wrapping in case any gaps do appear.
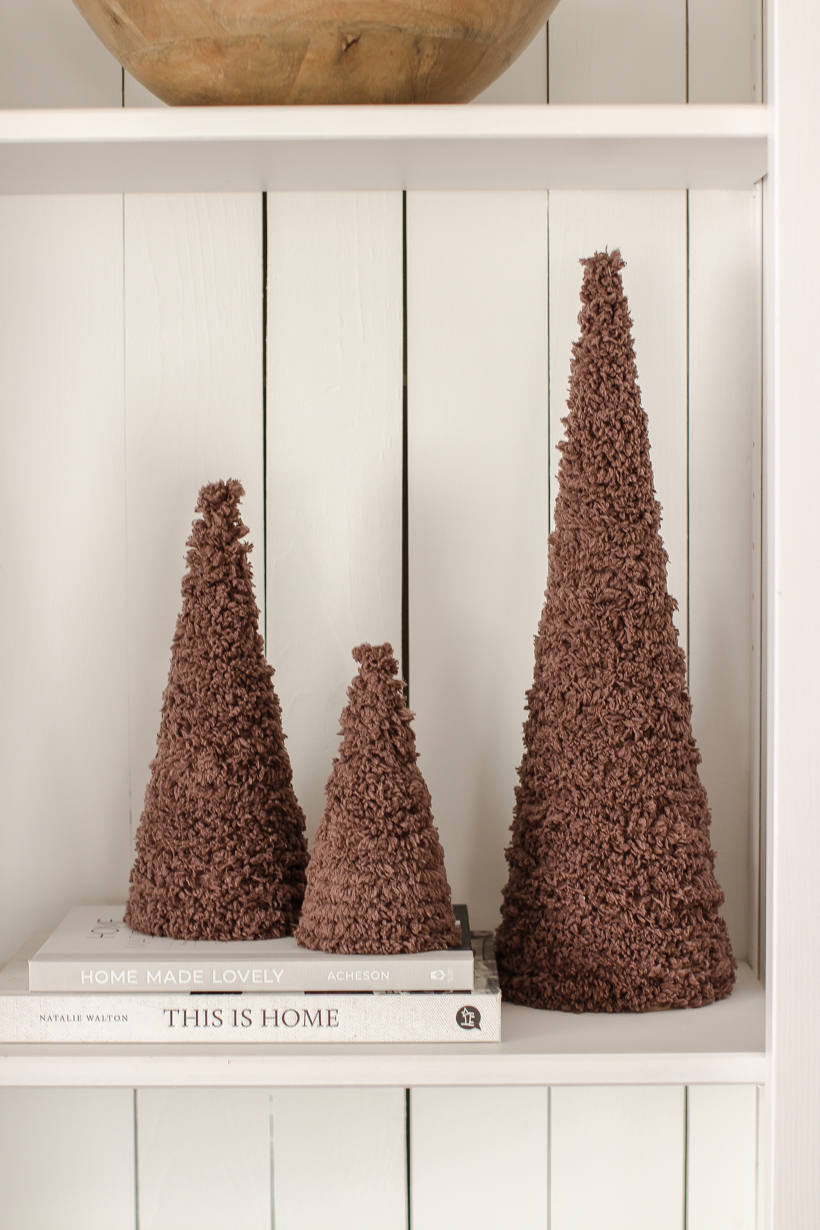
I bought several different kinds of yarn, but I like the look of one entire set (a small, medium, and large cone) in the same color. The possibilities are endless in how you can customize these trees to match your own holiday decor, and you could even add a little pom pom or star at the top if you wanted.
I styled these on my bookcases last year, but they look stunning on a coffee or console table as well.
If you make some of these trees, share and tag me so I can see!
As always, I sincerely appreciate you shopping through the links I share, which allows me to make a small commission from your purchase while your purchase price remains the same. When you use my affiliate links, I’m better able to create content for this blog as well as support my family, and I thank you from the bottom of my heart for supporting what I do!





Leave Your Comments