
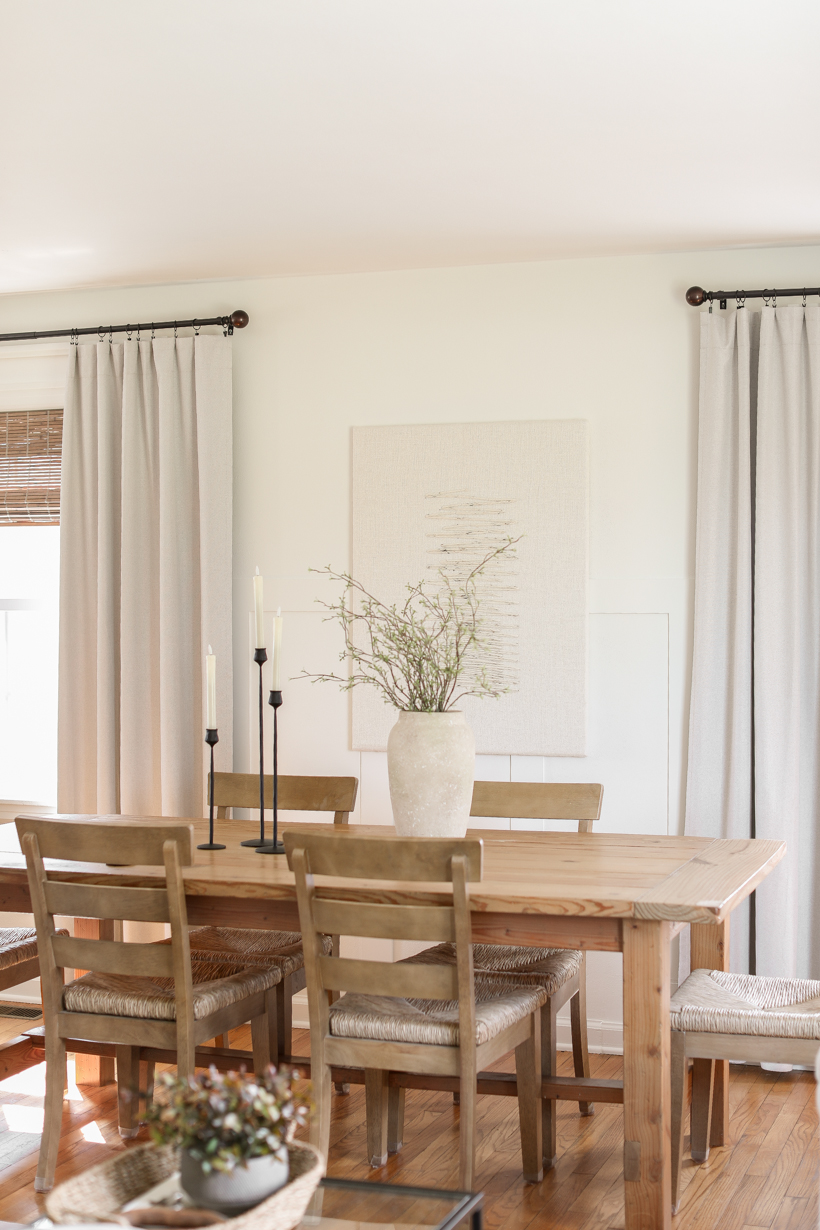
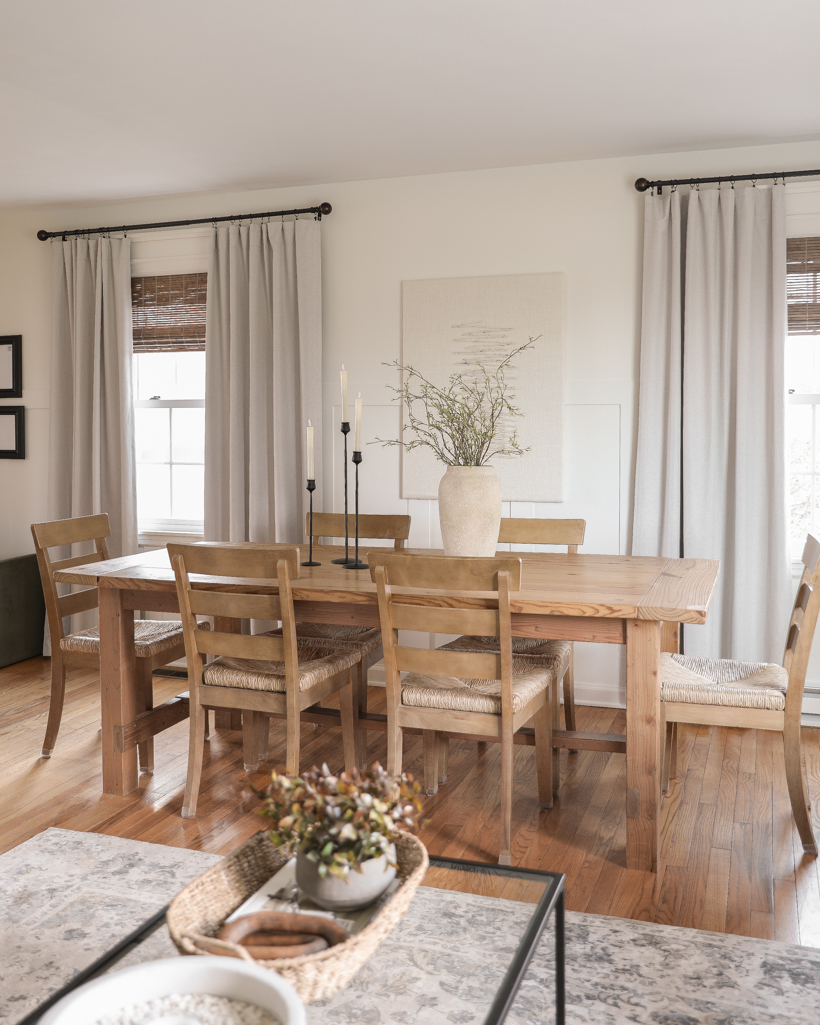
The next project for our living/dining room update: a large piece of art to go between the two windows in the dining room.
This wall is somewhat of a focal point since the dining table is centered here, and it needed some kind of definition and interest to draw your eye in. I just hung a large piece of landscape canvas art on the opposite side of the room, so I wanted something different here that was a bit more abstract, but simple and subtle too.
I did a little online shopping to see if I could find something that would fit my vision, and I came across a stunningly beautiful piece of woven art that was absolutely perfect – but it most definitely did not fit my budget.
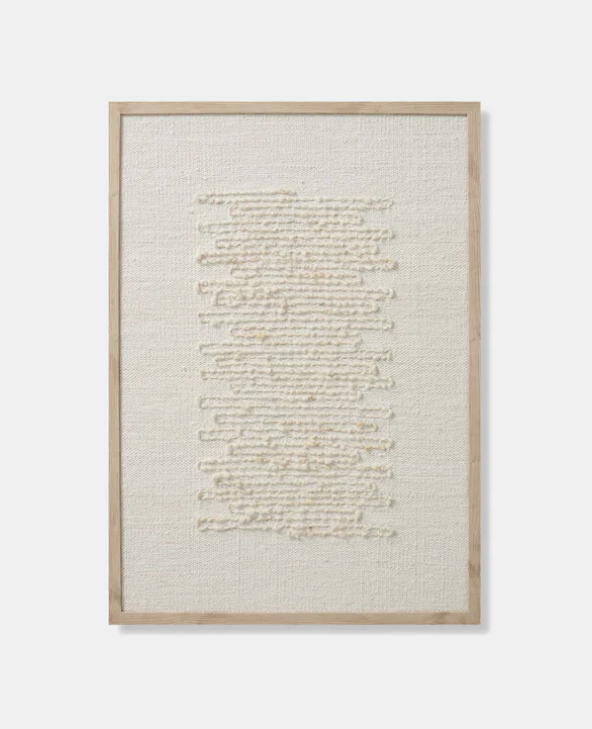
I loved the neutral abstract tone on tone design and the beautiful texture of the woven wool. But I was not about to pay $400 for a piece of art that I felt was simple enough I could probably recreate it for a fraction of the cost.
I went to the craft store and came up with a plan and materials to execute the project. I decided I would find a piece of fabric that I could stretch over a cheap canvas and somehow attach a chunky textured yarn in a sort of zig-zag pattern like my inspiration piece.
SUPPLIES:
white burlap
canvas panel
yarn – look for one that’s chunky/textured and similar in color to the burlap
thread – also similar in color
needle
scissors
ruler
masking tape
staple gun & staples
picture hanging hardware
INSTRUCTIONS:
- Cut a piece of burlap several inches longer on all sides than your canvas panel. You’ll need to be able to wrap the burlap around the back of the canvas and attach it to the wood frame.
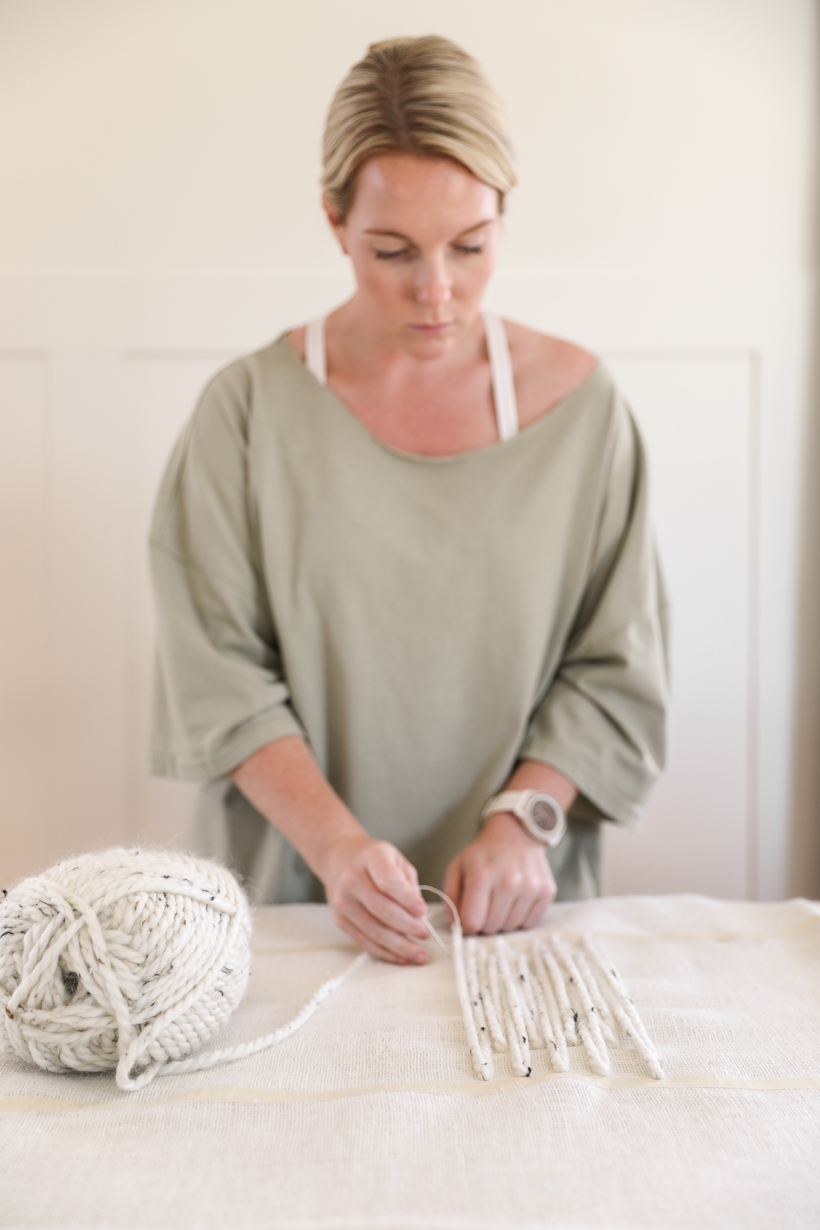
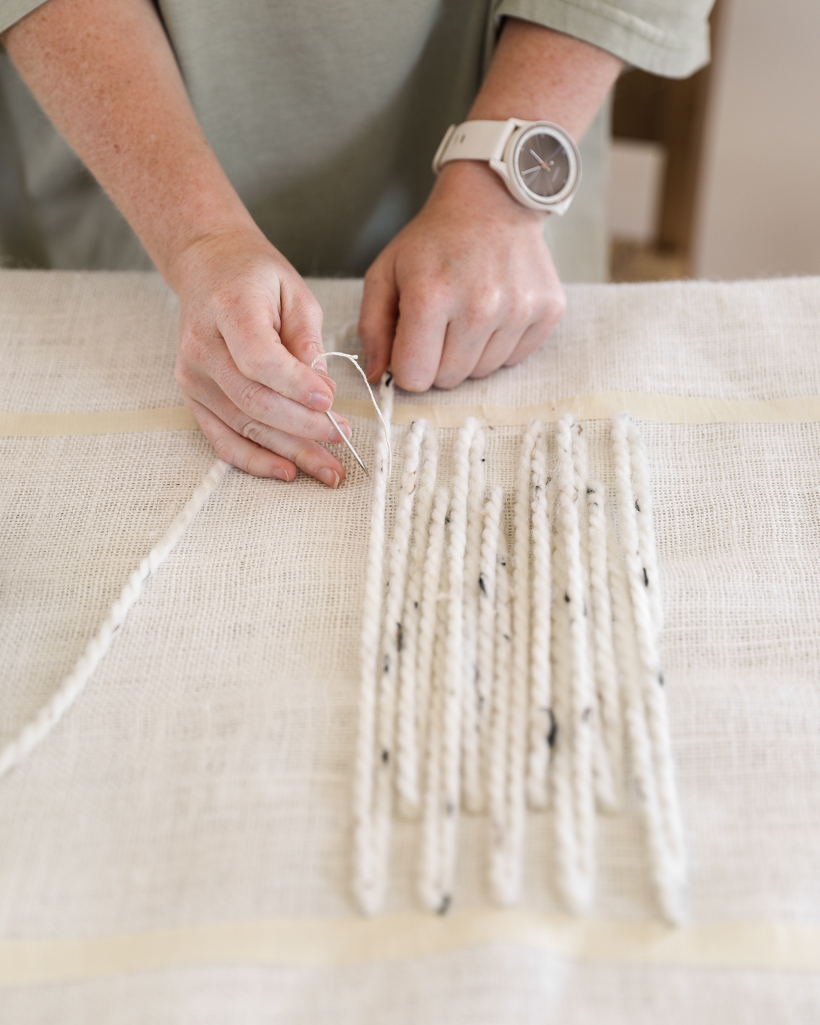
- Decide where you want your design centered on the burlap, and use strips of tape as a guideline so you don’t have to measure spacing for every row of yarn.
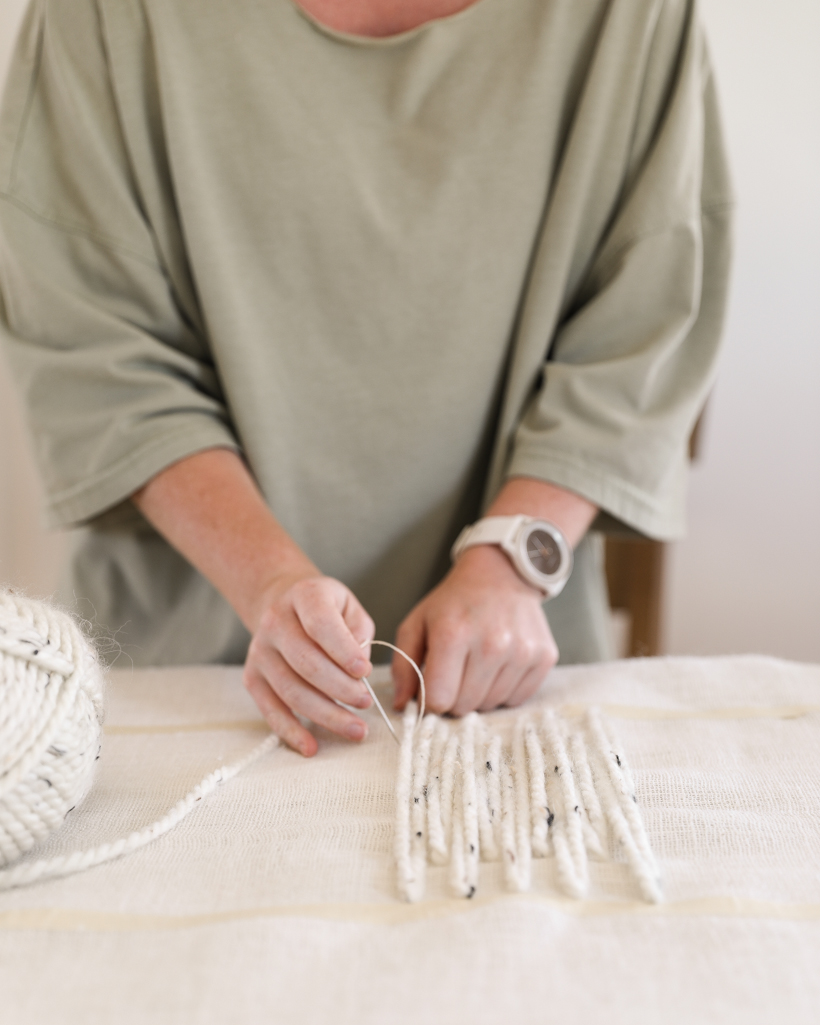
- Before you actually attach the yarn to the burlap, lay out at least a few rows of your design to determine the spacing you want.
I used a 30 x 40″ canvas and created a zig-zag pattern alternating long and short rows that were 12″ and 8″.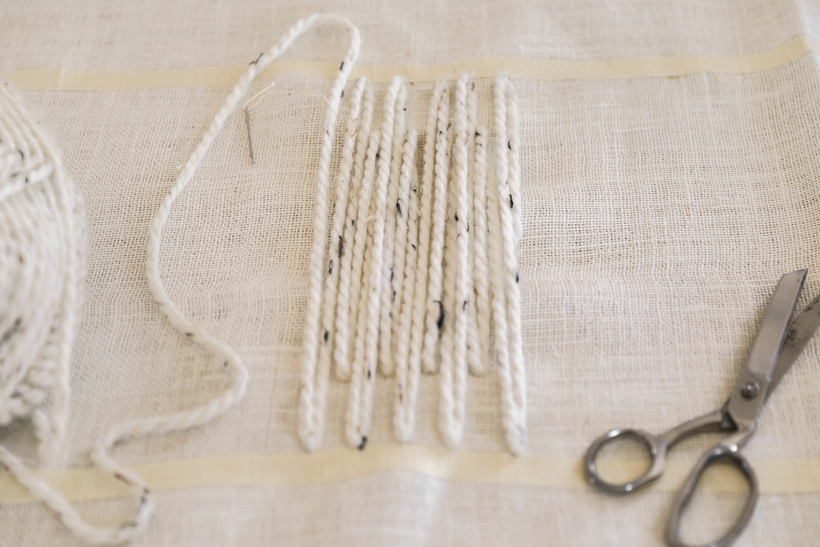
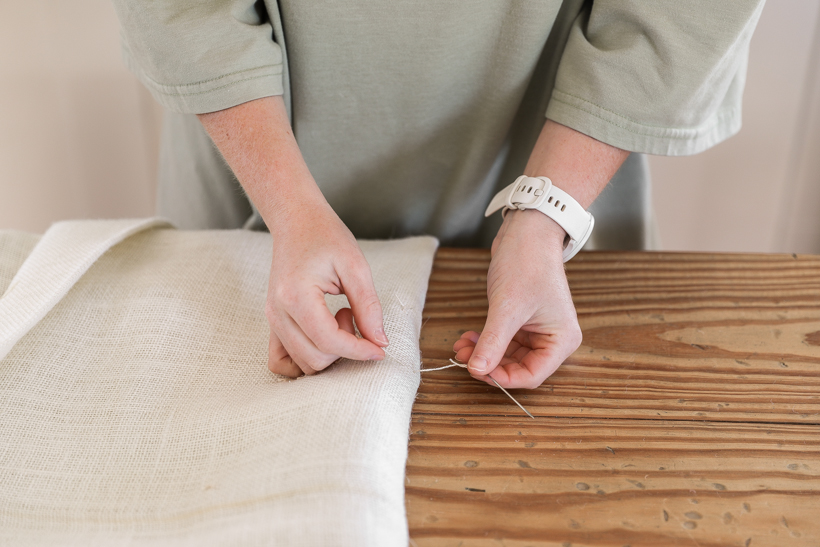
- At the end of each row, secure the yarn in place with needle and thread, tying a knot on the backside of the burlap to secure. Continue the pattern until your woven design is the size you want.
- Once finished, go back through the rows and add extra stitches sporadically where the yarn may seem loose. This will help keep the yarn secured to the burlap and add some additional texture and interest.
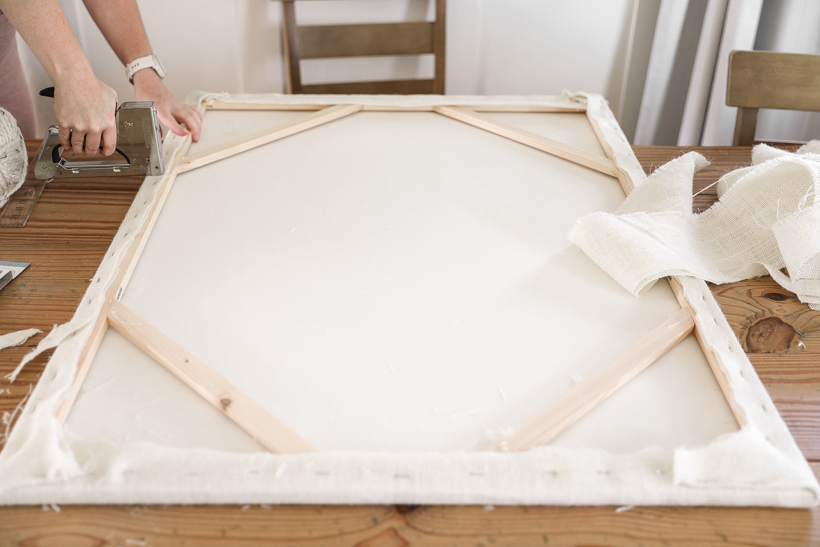
- Flip the burlap over with the woven design down, and place the canvas panel on top, also face down. Stretch the burlap over the sides of the canvas and secure to the wooden frame with a staple gun. Start with the center of the top, bottom, and sides, then move around the edge of the canvas, evenly stretching the burlap as you go. Neatly fold the corners and trim excess burlap as needed so the canvas will lay flat against the wall.
- Add a sawtooth hanger or some kind of picture hanging hardware to the back of the frame, and hang on the wall where desired.
Project Notes:
I had plenty of burlap, so I folded it in half and used two layers instead of one. This helped give the finished canvas a softer, smoother surface, and it helped hide the white canvas underneath the burlap. Not a big deal since everything I used is a light color, but if you were using a different color burlap or some other kind of fabric, you may want to have enough for a double layer as well.
Also, when I first started tying the yarn to the burlap, I kept the rows as scrunched together as possible. As I got rolling, I decided I wanted to slowly start spacing the rows out more so the bottom of the design would be more compact than the top. The holes in the burlap make it easy to count out a certain number of spaces between each row, and I started with 10 spaces between the long rows and 10 spaces between the short rows. Once I got about ⅓ of the way through, I started adding 1 extra space with each new row I created.
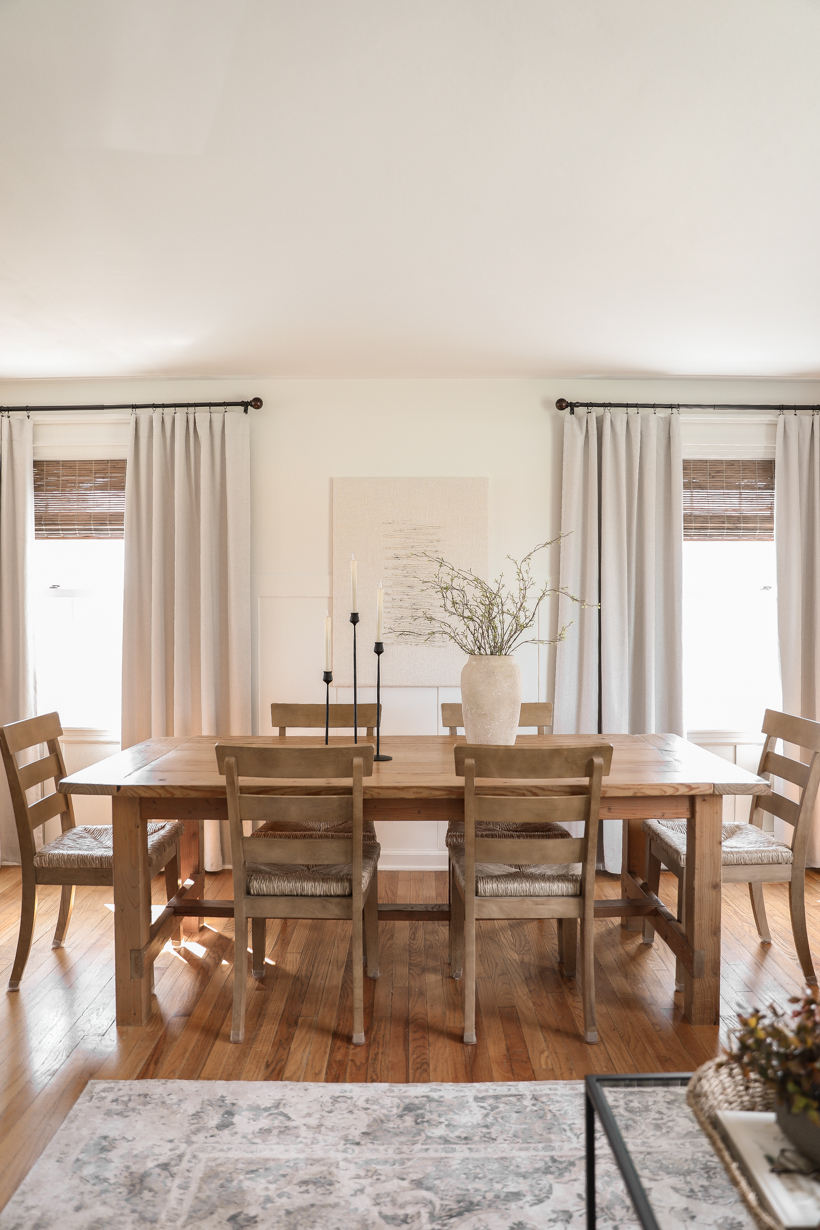
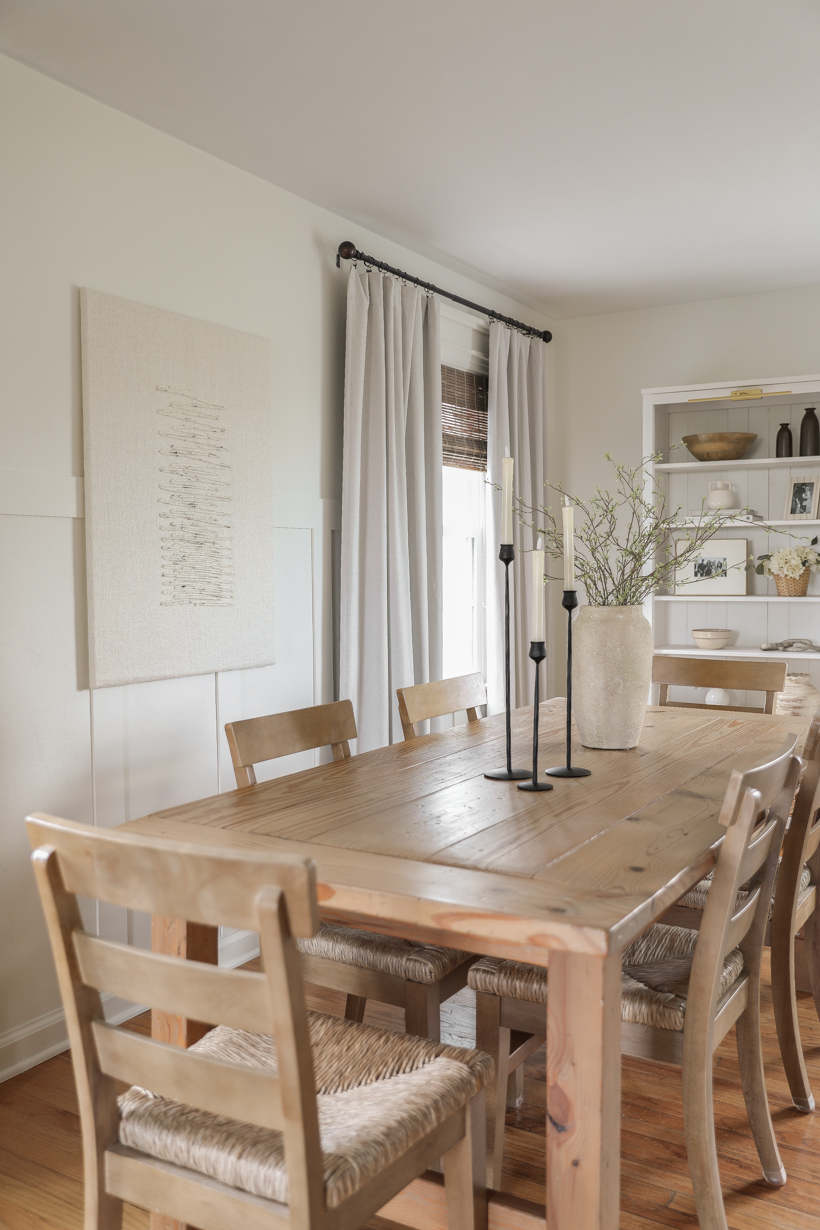
I was a little skeptical if this project would be a success or a fail, but it honestly turned out better than I expected. I love the yarn I chose with little flecks of black and brown throughout, and also that the piece adds character and interest to the space, but doesn’t compete with any of the other elements. And I saved so much money making it vs. buying the high-end artwork I originally found!

Here’s the cost breakdown:
$8.98 – 1.5 yards burlap
$17.99 – 30″ x 40″ canvas panel
$8.99 – yarn
Everything else I had. That’s a grand total of $35.96 for a piece of art that originally would have cost $400 to purchase – it’s also backordered till February!
SHOP THIS SPACE:

I don’t do nearly as many big diy projects here as I used to – with age comes a better appreciation for time vs money. But I would love to hear your thoughts on if you would like to see more decorating projects like this!
As always, I sincerely appreciate you shopping through the links I share, which allows me to make a small commission from your purchase while your purchase price remains the same. When you use my affiliate links, I’m better able to create content for this blog as well as support my family, and I thank you from the bottom of my heart for supporting what I do!

Your blog has always been my favorite blog. I love the sense of calm your decor style exudes It is beautiful, classy, and just peaceful in appearance. I love the wall art!
This is beautiful!! Thank you for the inspiration! I just moved into a new space and this will be perfect!
Liz, that is absolutely awesome. It looks great – and done so frugally. WTG!! Very inspirating!!
(Love your style.)
This project turned out so beautiful! Love it!
Love this!