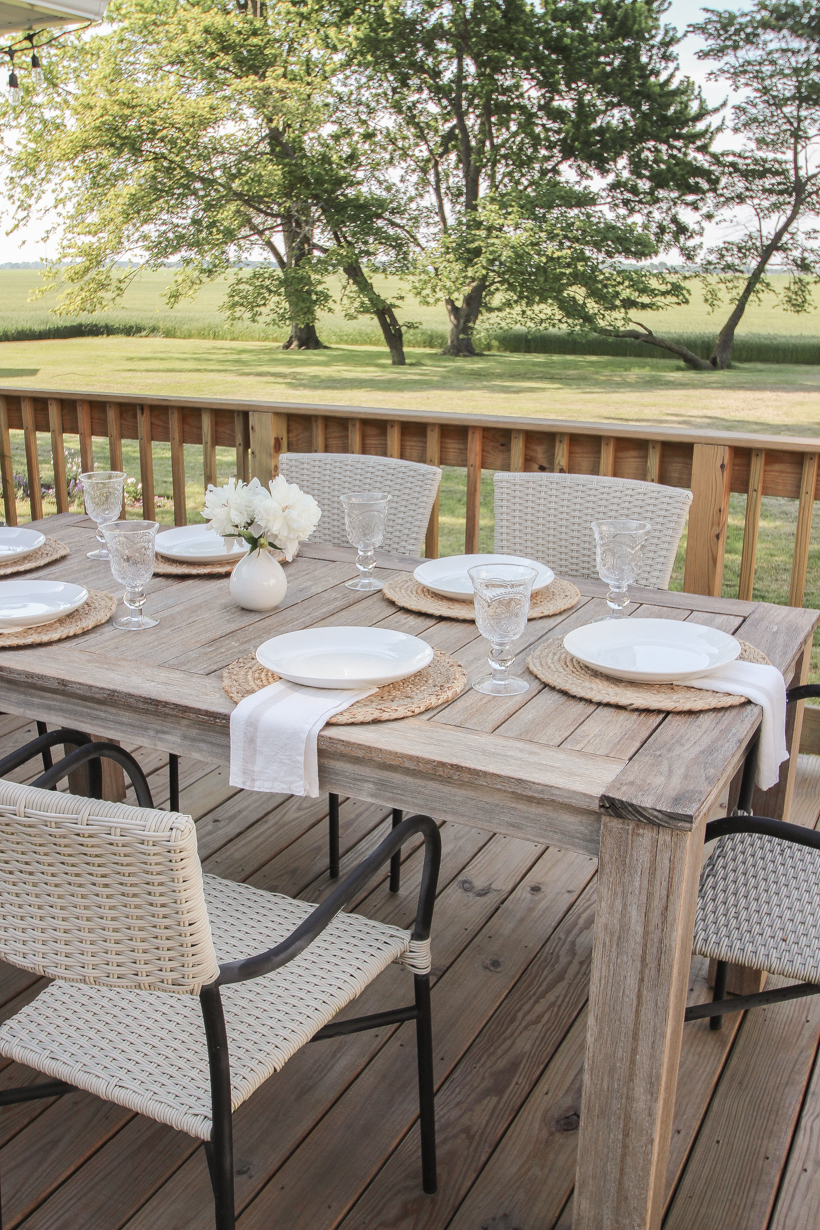
So far this summer I tackled the big project of staining our deck for the first time, and while I had all the furniture moved off of the deck, I decided to give our wood furniture some love and attention that it definitely needed. I purchased a beautiful outdoor dining table for the deck two years ago (this is the third summer we’re using it), and the wood is starting to show its age. I honestly wish I would have done this last year after sitting for the first winter, but I hope that by taking care of it now, we can get quite a few more years of use out of this table.
Today I’m going to walk you through how to restore your old outdoor wood furniture and protect it from UV and moisture damage!

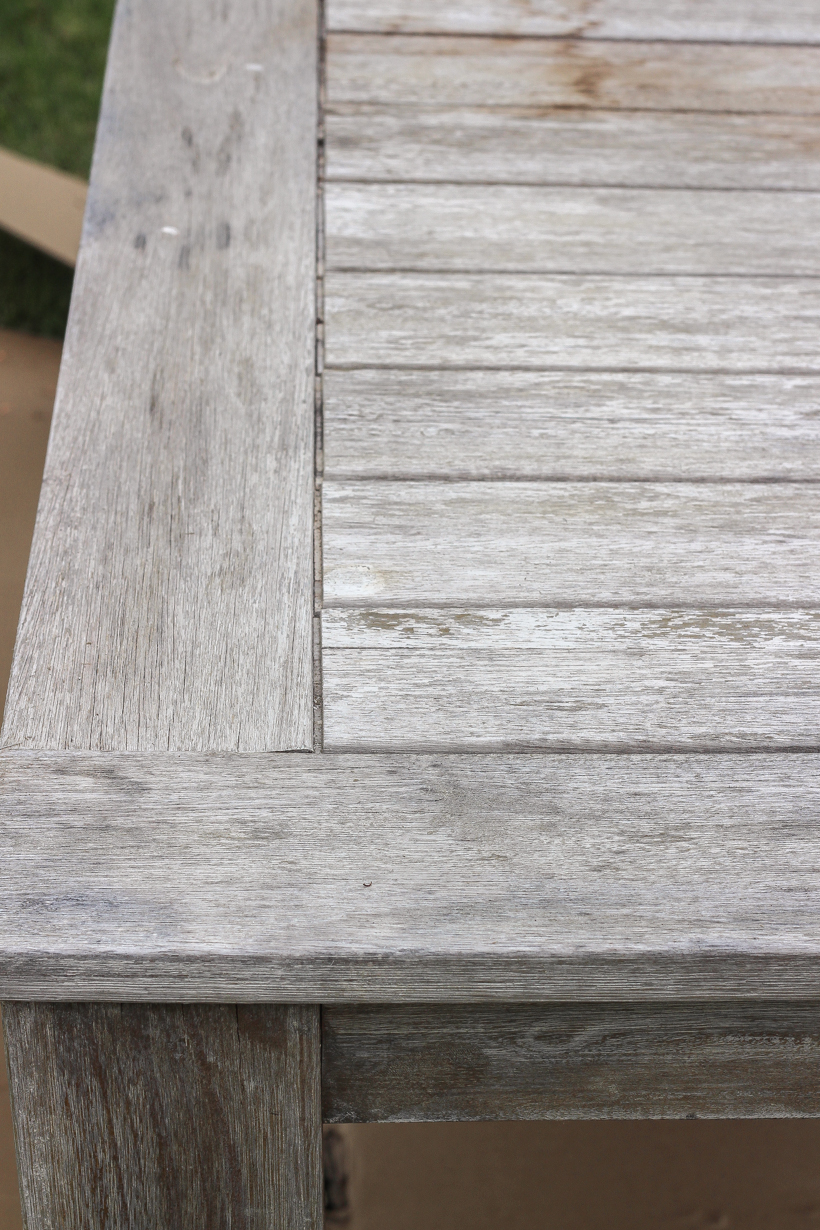
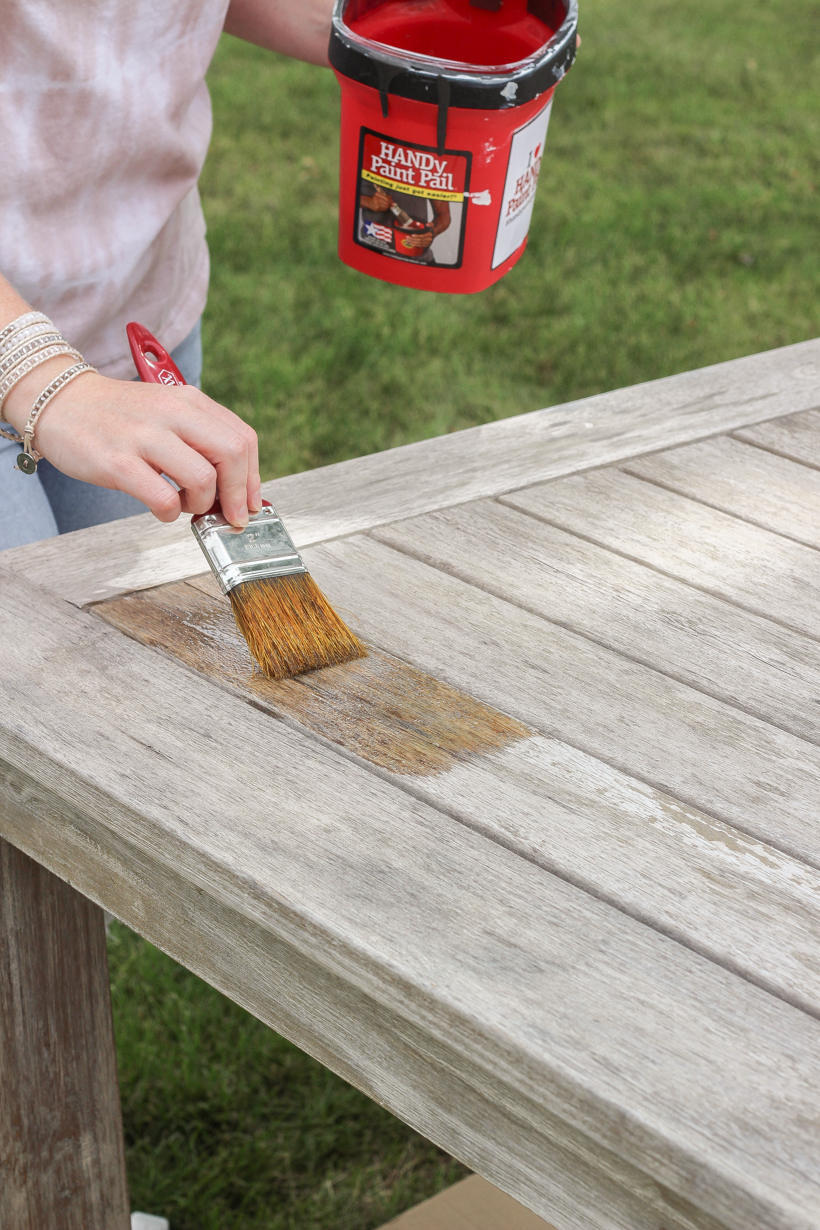
Below you can see a close-up of how the wood table looked before restoring it. The wood has weathered and grayed, and the finish has chipped away in some small areas. You may remember that when I stained my deck, I started by using a wood cleaner and brightener to prep the surface for stain, and I wish I would have used it on this table as well to help the grayed wood return back to its natural color.
I ran out of the products I used on the deck, so I simply gave the table a good bath and scrub with the garden hose and waited for the wood was dry completely.
HOW TO RESTORE AND PROTECT OUTDOOR WOOD FURNITURE
SUPPLIES:
plastic drop cloth or cardboard
wood cleaner/brightener – optional but recommended
garden hose
wood sealer – I used teak oil, which is able to be used on woods other than just teak
paint brush for oil-based products
handheld paint pail
clean rag
bucket with water
STEP 1 – PREP
You will first want to clean and prep the surface. If the wood is rough or an old finish remains, sand with 150-220 grit sandpaper until smooth and remove all dust with a vacuum or a cloth dampened with mineral spirits. Spray the wood with a garden hose, and use a wood cleaner/brightener to remove any gray oxidation on the wood and clean any dirt or foreign matter. Allow the wood to dry completely. Protect surrounding areas by laying a plastic drop cloth or cardboard underneath the piece of furniture to catch any drips. Make sure you are in a well ventilated area when the temperatures are between 55-90ºF.
STEP 2 – APPLICATION
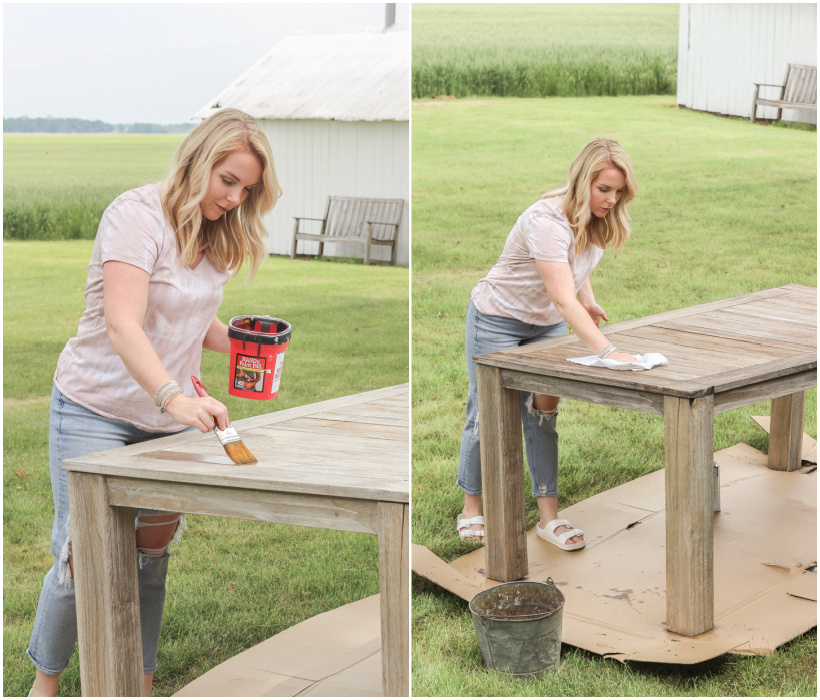
Thoroughly shake or stir the product before and during use. Pour the teak oil into your pail (you can get disposable liners to make clean-up super easy) and use a paint brush made for oil-based products to heavily apply the oil to the wood. Follow the directions on your particular product for application and re-coating instructions. I applied two coats about 30 minutes apart, wiping any excess oil that didn’t absorb into the wood with a clean rag afterwards. Allow the wood to dry 8-10 hours before light use.
IMPORTANT NOTE: I carefully read the product label after seeing several reviews on Amazon, and I definitely recommend taking this precaution! As soon as you are finished wiping the excess oil with a clean rag, place the rag in a bucket of water. Do not just toss it on the ground, as some reviewers said that a buildup of fumes in their rag caused it to combust or become flammable, especially if it was wadded up in a ball so the fumes could not escape the cloth. Make sure it is thoroughly soaked with water, then lay it flat to dry before disposing. I didn’t have any issues using this product, but obviously always want to use and promote caution around potentially flammable products!
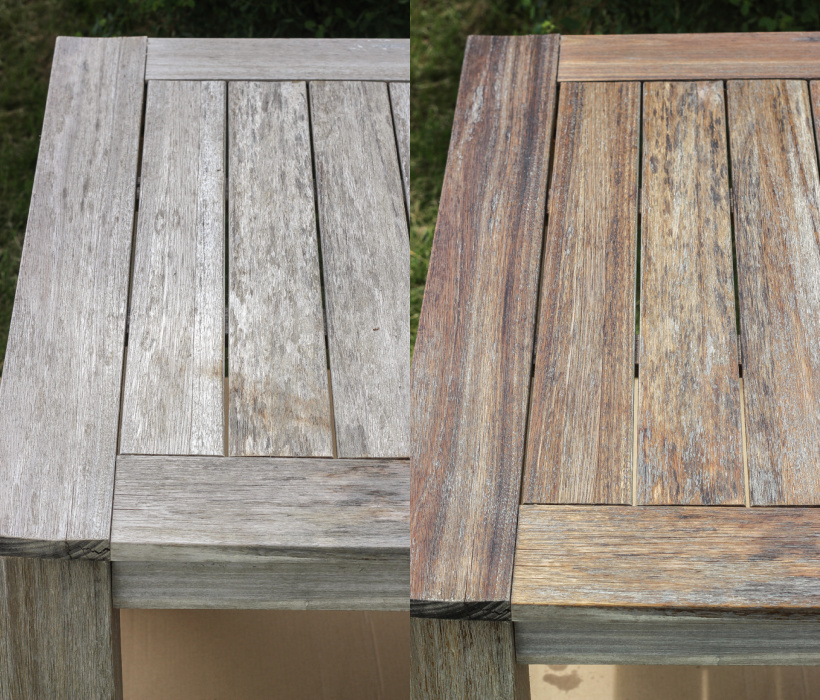
Here is a side-by-side look at the difference before and after applying teak oil. As I mentioned before, I do wish I had used a wood cleaner similar to the one I used on my deck to remove more of the gray spots, but the teak oil brought back so much warmth and color in the wood and really brought it back to life. The next time I apply teak oil (most likely next year), I will try a wood cleaner first to see how much that makes a difference as well.
I had a little bit of teak oil leftover so I applied it to two wood benches I have outdoors as well! It’s amazing the difference just a little bit of nourishing oil makes on furniture that sits out in the elements all year long.
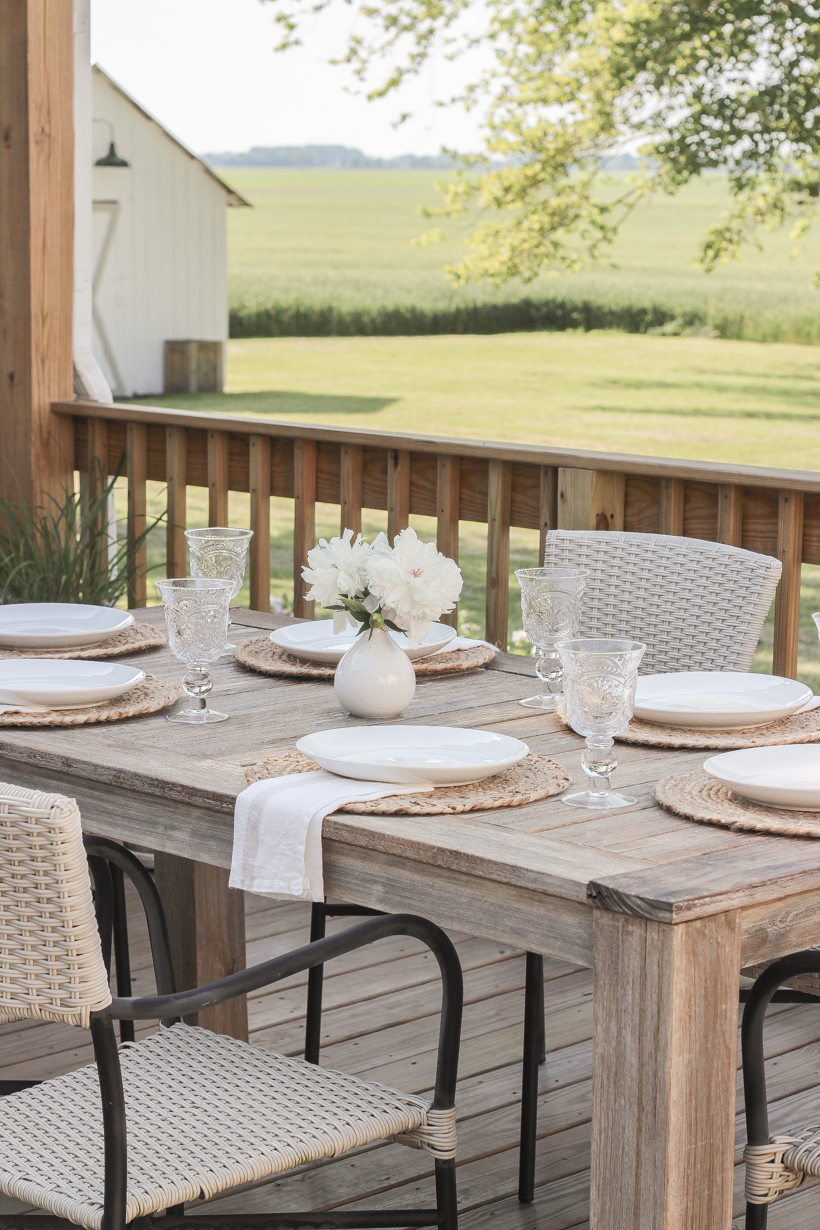
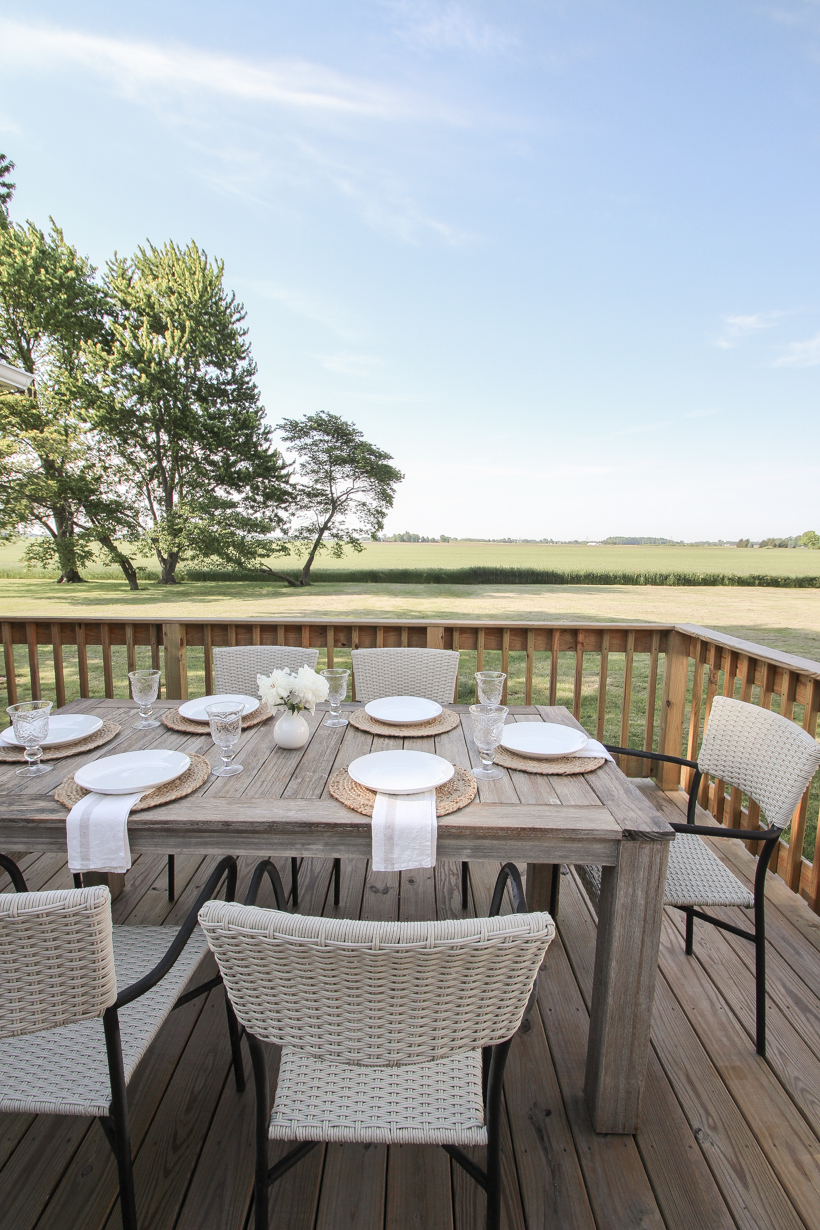
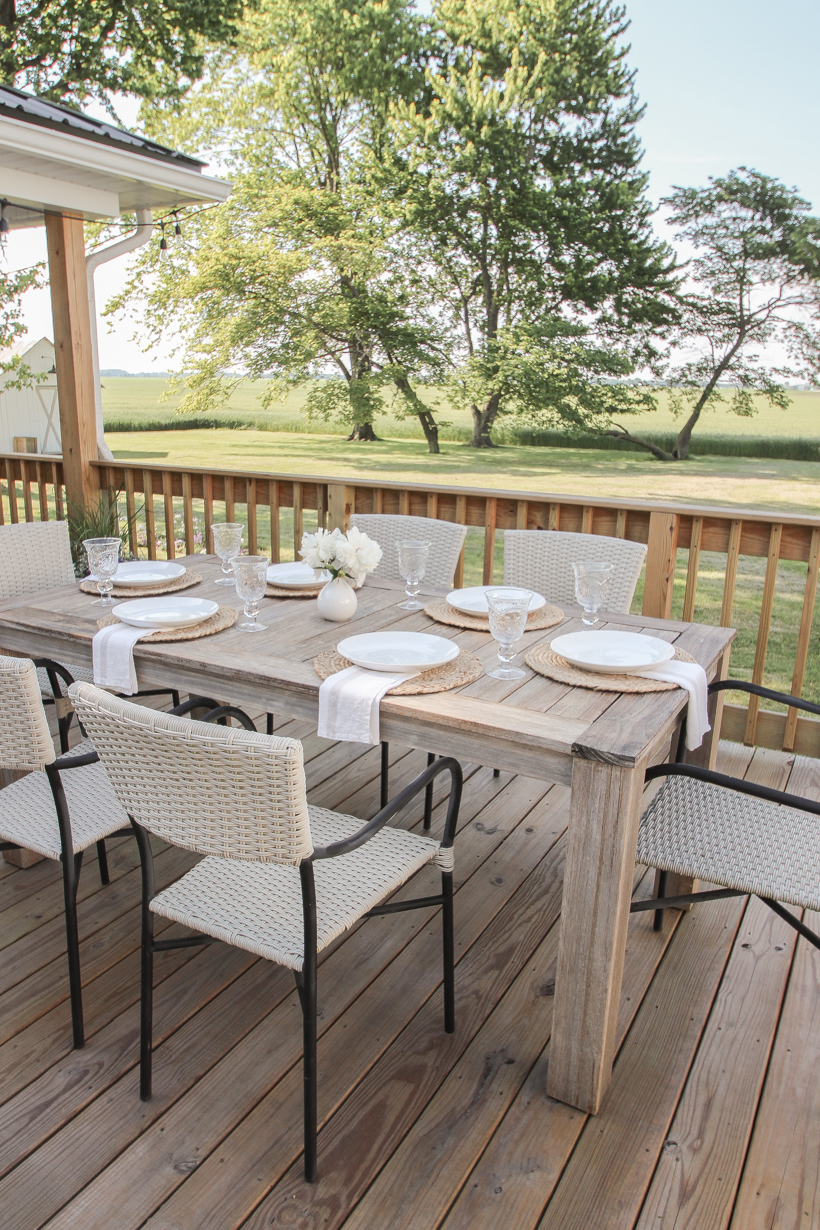
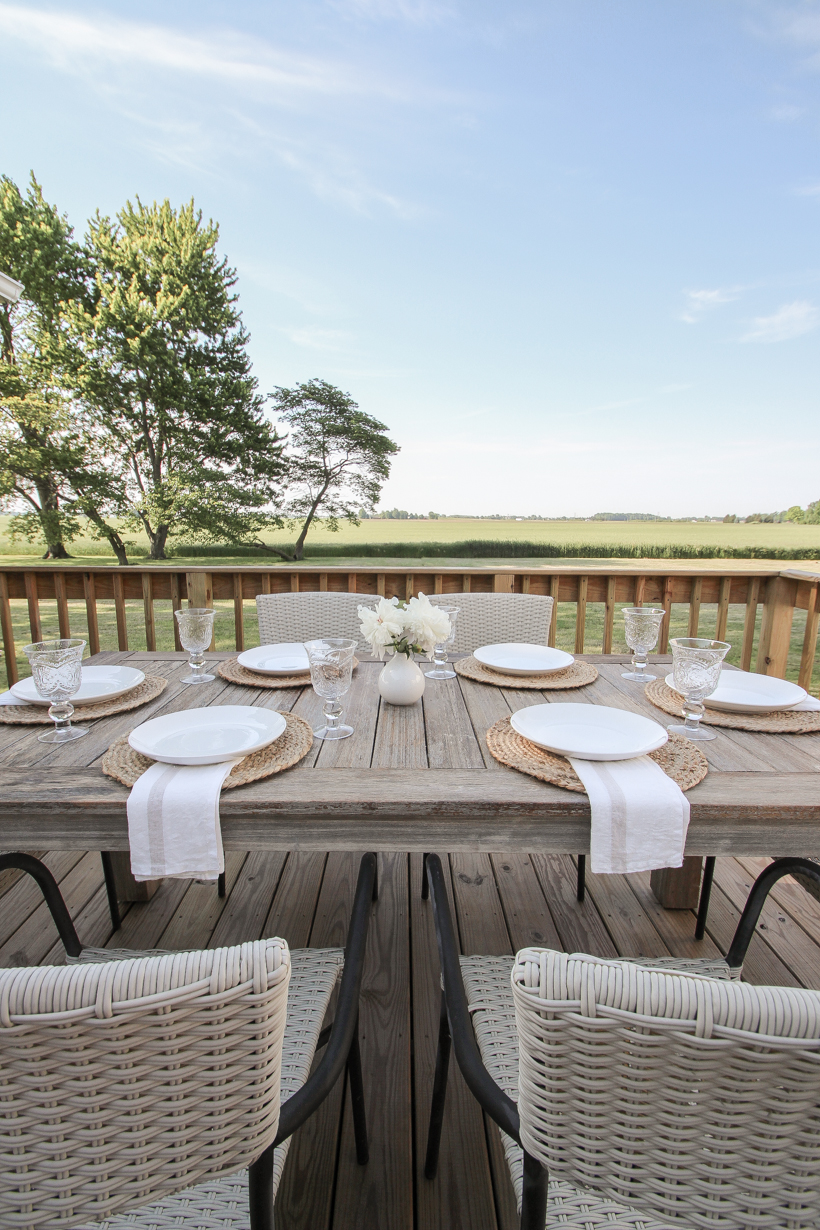
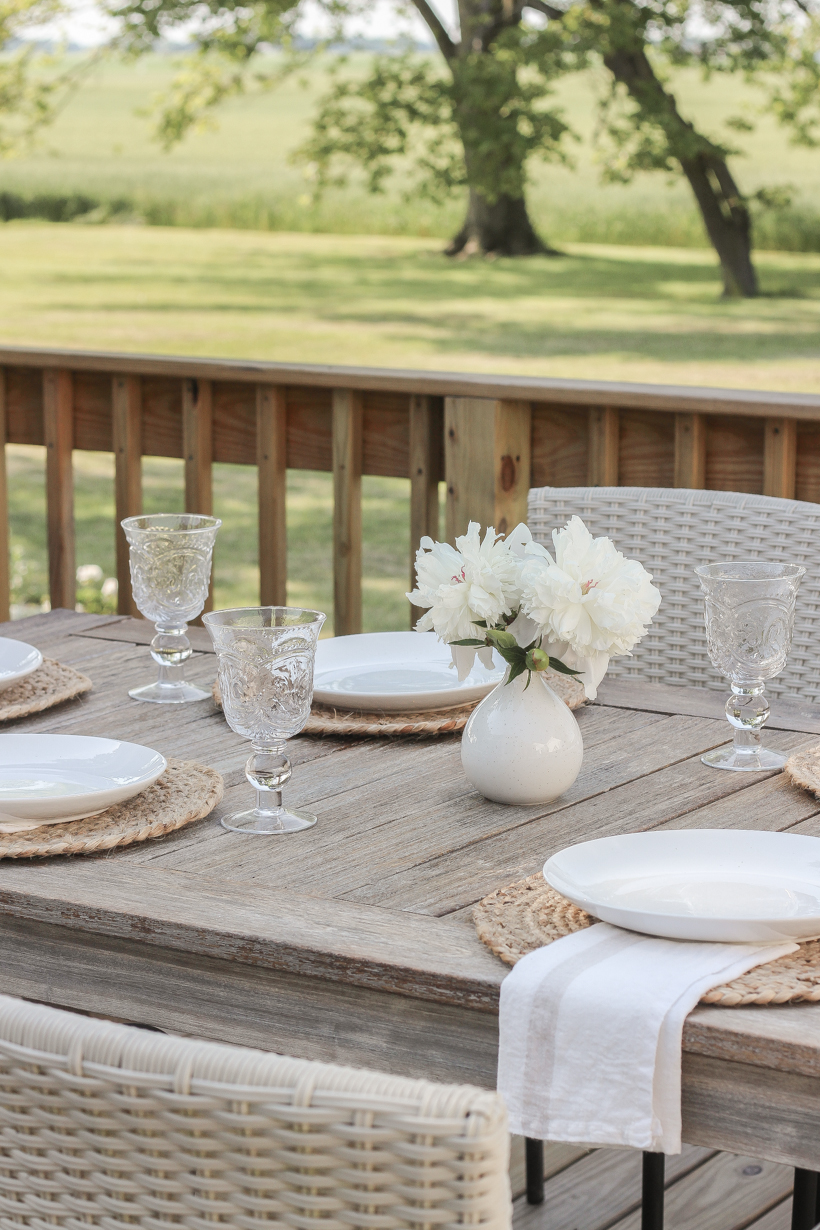
We enjoy this outdoor living space more and more each year, and the boys couldn’t wait to have our first summer meal of the year out here. Our al fresco dining usually doesn’t involve fancy glasses, placemats, and cloth napkins, but I figured this would be a good opportunity to dress the table up a little to show how beautiful it looks now after some TLC.
I still pinch myself that this is the view I get to enjoy everyday.
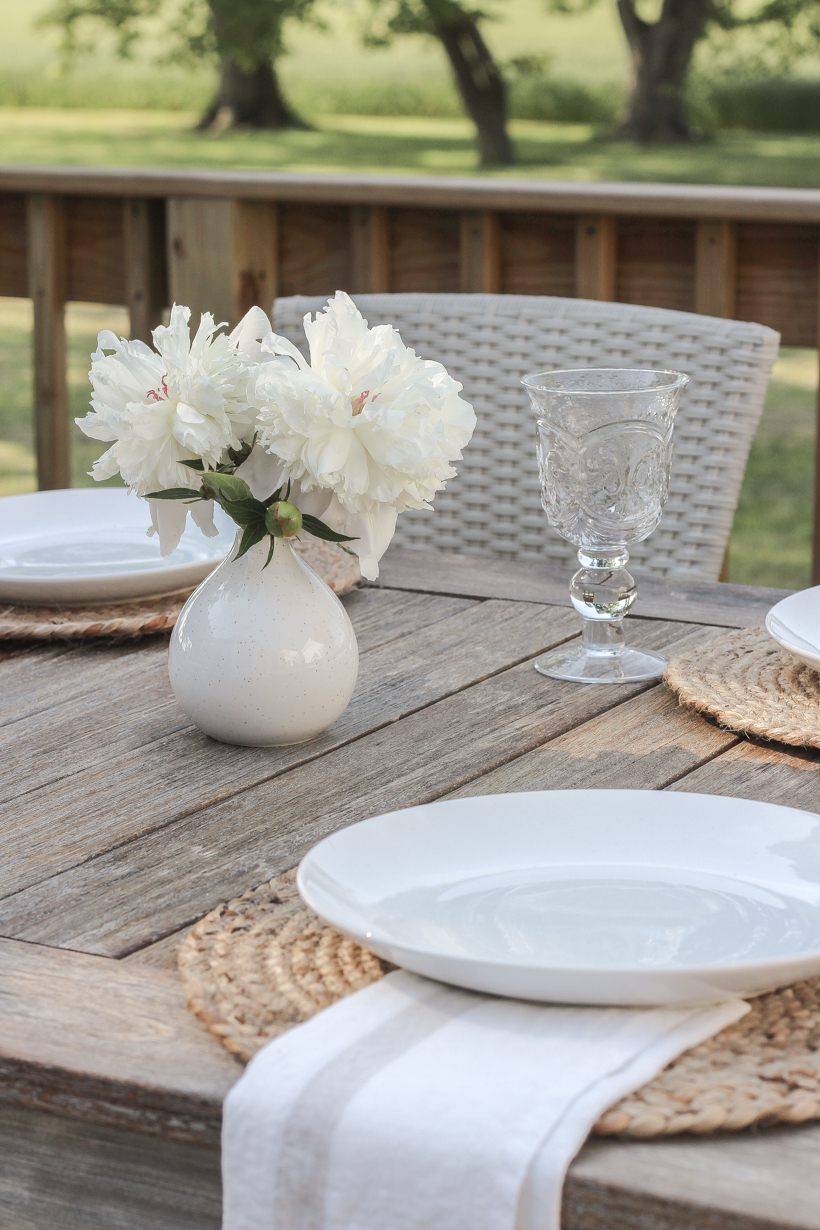
My peonies have been blooming in abundance lately, and I wish their season lasted just a little while longer. I snipped a handful of the last few flowers for a simple, casual centerpiece.
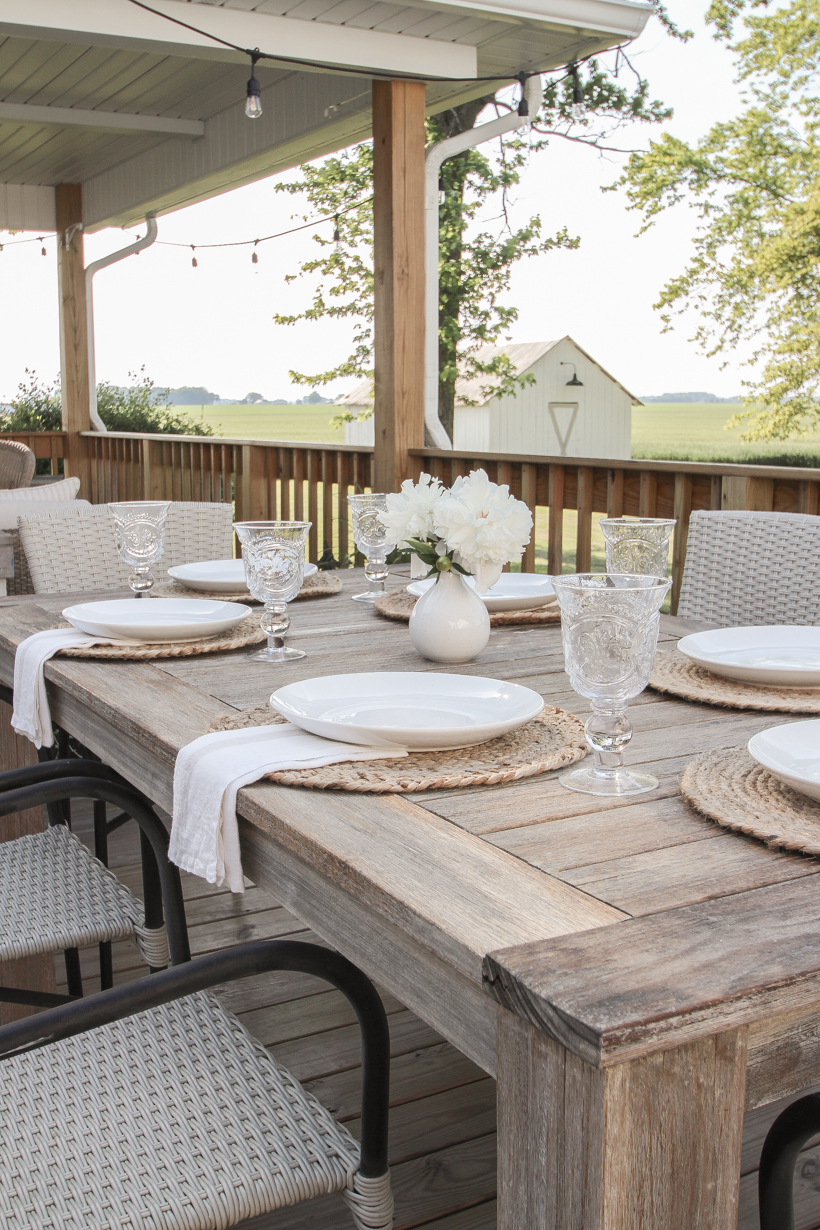
Last year was when I gave that little barn in the background a makeover and added lights to the gazebo. Little details that add up to tons of charm in our backyard.
Do you have an outdoor living space at your house? What is your favorite thing about it? I hope this post was helpful sharing small ways you can protect and maintain your wood furniture for years to come!
– SOURCES –
placemats | white plates
cloth napkins | white vase | glassware
outdoor dining table | dining chairs (sold out – similar options below)
– MORE OUTDOOR PROJECTS –
How to Stain a Deck
Barn Makeover Part 1
Barn Makeover Part 2
How to Clean Your Outdoor Cushions
Tall Outdoor Cedar Planter DIY
How to Build an Outdoor Console Table
Deck Addition
As always, I sincerely appreciate you shopping through the links I share, which allows me to make a small commission from your purchase while your purchase price stays the same. When you use my affiliate links, I’m better able to create content for this blog as well as support my family, and I thank you from the bottom of my heart for supporting what I do!



This was soooooooo pretty. I know you said the chairs were sold out but would you mind sharing which store you got them at? I’ve bought some summer items in the off season when they become available again.
Of course! These were from Pier 1 and were very affordable!