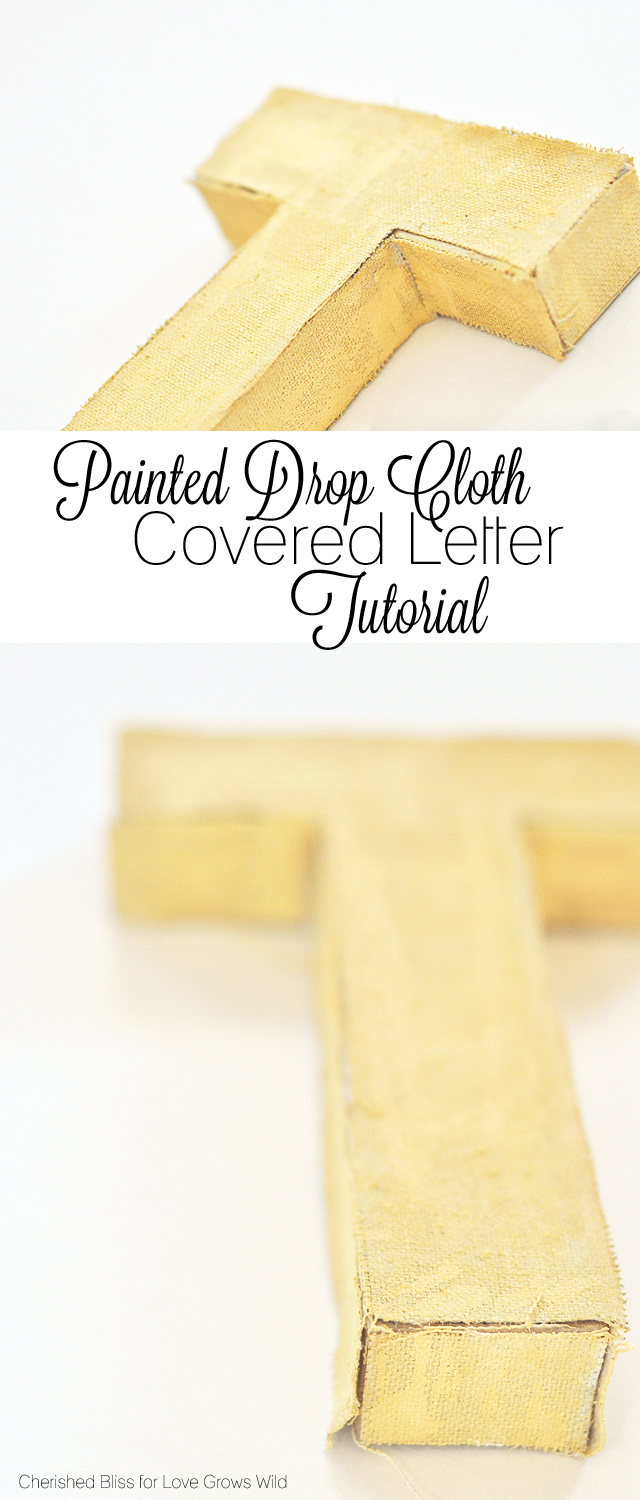
Why hello there! It’s Ashley again from Cherished Bliss. I am so, so excited to be here today. The weather has warmed up above the 30’s and that means I am in a FANTASTIC mood! I have been desperately trying to get things hanging on my walls… after 4 years of renting and moving I want to see pretty things on those walls. I just finished a gallery wall in my dining room, but I love gallery walls, and when you love something you can’t have just 1 right! Well… I am planning another one in my living room. It will be a different type though with more random things (true story) incorporating more than just pictures. Today, you get to see one of those random things. Hold on to your seats!! 😉
For this gallery wall I want to include things that are special to our family. You will see special dates, numbers, words, pictures, and anything else that sparks a memory for our little family of 5! This is the very first thing I have made for the wall because the day I changed my last name to have the initial T, was the day my family started. This seemed like a great place to start. : )
These letters are really easy to make. I wanted them to look rugged and worn, almost as if they were sewn at the corners at one time, but the seams had ripped. Let’s take a look at what you need to make your own and then we will get into the easy how-to!
Supplies:
Paper Mache Letter
Drop Cloth
Antique Matte Mod Podge
Paint (I used the same color as these frames)
Foam Brush
Scissors
Tutorial:
First thing to do is trace out your letter to get the top piece.
Once that is done, trace the remaining sides. I just kind of eyeballed it, and trimmed if necessary, but I was going for the “not so perfect” look. Once everything is traced, cut it out.
Then, apply a layer of the mod podge to your paper mache letter, and then apply the pieces where they go. Make sure you push it down firmly so that the glue soaks into the fabric.
Next I took my foam brush and lightly dipped it in my paint and brushed it on the letter. Your first stroke will leave the most paint on the drop cloth, so keep that in mind when applying the paint. You can also dab it to get a more even look if you want.
Once the paint is dry, apply another coat of your mod podge, and then let that dry.
I love the ruggedness of it. It fits our family to a “t” < haha I’m so funny! (not really… just a little silly) 😉
I can’t wait to put this little guy with all our other little family memories, and turn it into a very meaningful wall!
I would love to have you stop over and see what else we have been up to! I’ve been a busy girl, and I can’t wait to share more things with you as we continue to decorate our house. Coming soon is a total kitchen remodel! So.EXCITED about that one!! 🙂
Here are a few of mine and my sister’s recent posts in case you missed them.
DIY Coat Rack
Oven Baked Chicken Taquitos
Have a beautiful day!! : )
Connect with Ashley:
Blog | Facebook | Twitter | Pinterest


Love the letters!
Aren’t these so fun? And I love the yellow! Thanks for stopping by, Lisa!
Love DIY projects:) my ? Is, why use drop cloth vs. Fabric canvas? Just curious because I hought drop cloths had some resistance to wet elements like paint…I mean it is used to protect your floors from spilled wet paint, maybe they’re treated to an extent…not sure. Fabric canvas off the bolt, is it the same? Thanks for sharing your beautiful project, love the final result!