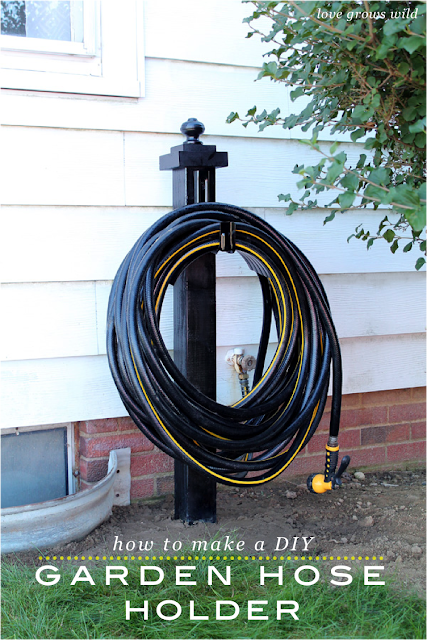
Do you have lots of plants to water this Summer? Make your life easier with this DIY Garden Hose Holder! It’s easy and inexpensive to make and adds great curb appeal to your home!
Last Summer we were just moving into our new home here in Indiana, so this is really the first Summer I have had a chance to plant any flowers. Now planting them is one thing, but keeping them alive… that’s a WHOLE other monster! I’ve tried to be very diligent about watering regularly, which means dragging the hose out everyday… okay maybe every other day. We currently have no good solution for storing our garden hose, so it gets thrown into a giant, messy, tangled pile on the side of our house. And if you know me at all, you know that this drives me absolutely bonkers!
I was browsing Pinterest the other day, when I found an awesome tutorial for a garden hose holder from the AMAZINGLY talented girls at Shanty 2 Chic! Do you ever come across something on Pinterest and think, “That is the answer I have been searching for all my life!”? As soon as I saw their project, I knew that I HAD to have one for my house. I decided to take a little break from my kitchen makeover and tackle some projects on my outdoor to-do list. My lists are never-ending.
Here’s what I purchased:
one 4 x 4 – 8 foot wood post – $7.59 at Menards
package of wood finials – $10.97 at Menards
metal hose hanger – $4.97 at Walmart
I had the awesome guys at Menards cut the wood post in half for me, and I found a package of two wood finials in the section where you find curtain rods. Since I now had two 4′ posts, two wood finials, and two garden hoses at my house… I made two hose holders! I know, I’m a genius : )
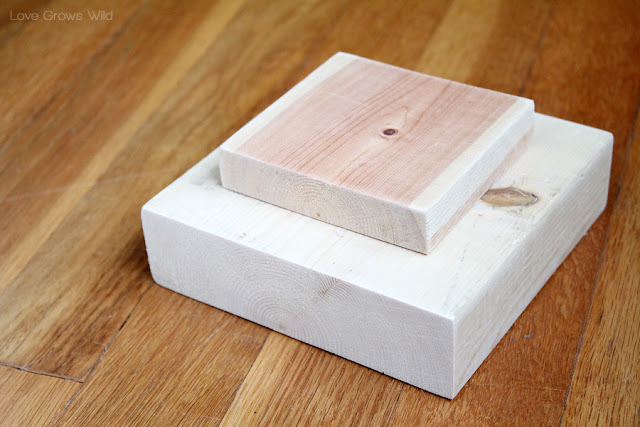
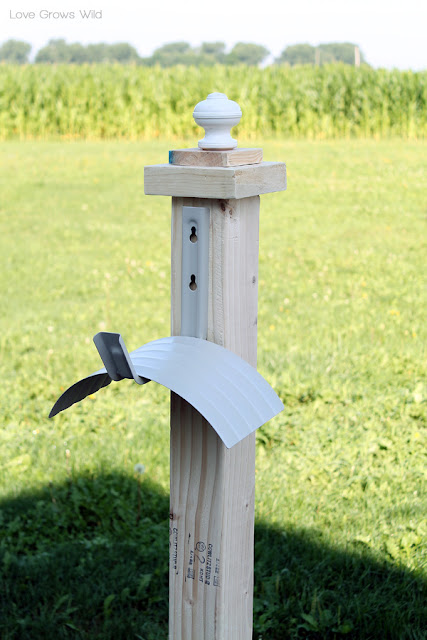
You could keep this project really simple and just screw the hose hanger into the post and call it a day, but I like how the Shanty girls gave it a more finished look with some wood blocks and a finial at the top. I grabbed two pieces of wood from my scrap pile and cut them into squares. The bottom piece is a 2×6 cut into a 5.5″ square, and the top piece is a 1×4 cut into a 3.5″ square.
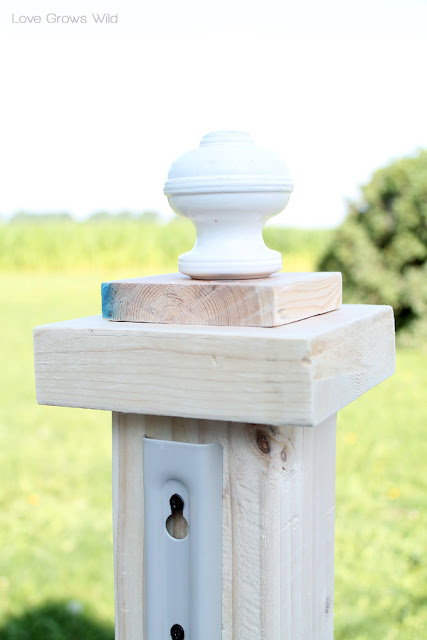
The assembly was super simple. I used two long screws to attach the larger block onto the top of the post and used two more screws to attach smaller block on top. You may be able to condense this step if you are using thinner pieces of wood, but I didn’t have long enough screws to go through all the pieces. Then I drilled a small hole in the center of the top block and screwed on the finial.
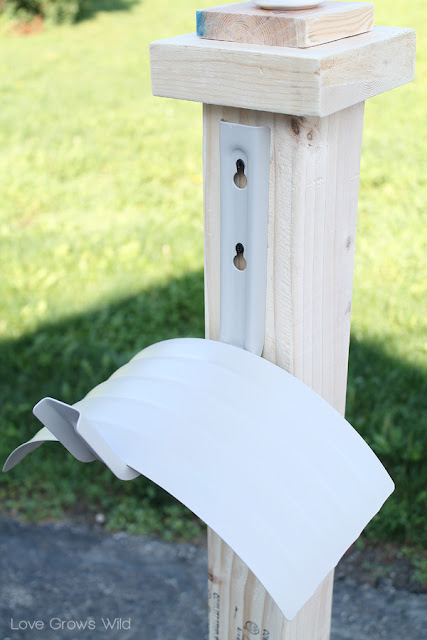
I screwed the hose hanger onto the post near the top to allow plenty of room for the hose to hang.
Then I quickly sanded down all the edges and got ready to paint!
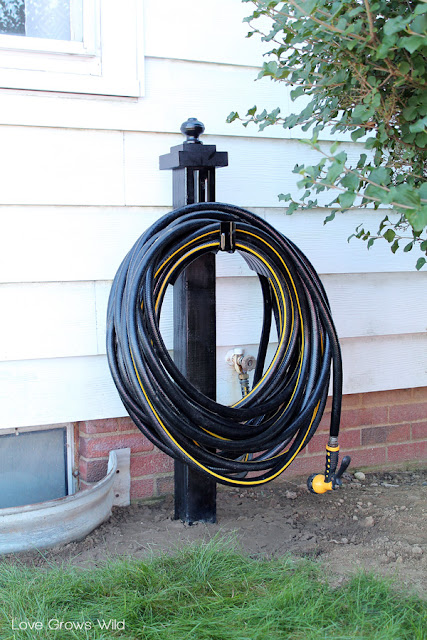
I spray painted a coat of primer, two coats of black, and two coats of protective sealer. After allowing plenty of time to dry, I dug a hole where I wanted the post to go and buried it about 1 1/2′ deep. I also added some rocks around the post as I filled in the dirt to help stabilize it. I have a giant 150 foot hose to reach all my flower beds, and this hose holder has done a fantastic job of corralling all that hose so far!
And here’s the second hose holder I made for the back of my house. My total cost for the project was $28.50, so that is only $14.25 per holder! I am so in love with how these turned out, and they make my house look so much prettier! No more giant hose piles laying around! I could just kiss you Shanty 2 Chic girls!!
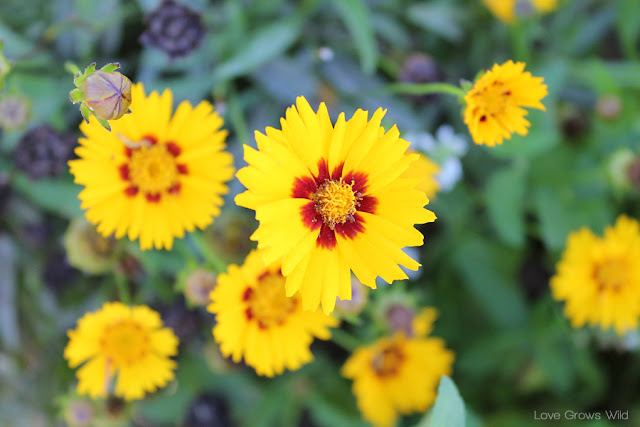
The flowers in my yard are all very happy as well…
So what do you think? Could you tackle a project like this? Would it help you get all your watering done this Summer? What outdoor projects are on your to-do list?
To check out the original tutorial from Shanty 2 Chic, click here.
Let’s Keep In Touch!
P.S. I’m sharing this post at some awesome link parties… Check them out HERE!







This is genius!! I think I could do this!! Have a great weekend and enjoy your flowers!~~Angela
This is SUCH a good idea Liz, pretty and so functional!! Sharing on FB tomorrow 🙂
xo, Tanya
This is a great project (and tutorial). I’m thinking that this could be a really excellent gift for my gardener father! Thanks for sharing it!
~Emily
A Tossed Salad Life
ohhh that’s great!!! i really needed this!
Great idea. I love how they turned out, I thought for sure they were metal when I first saw the picture. Thanks for sharing.
Sarah
http://www.creativeramblingsblog.com
Great idea Liz!
YES! I need to make one of these! I have my hose coiled up in a giant plant pot – which keeps it off the ground – but the pot fills up with water every time it rains, collects bugs and other yucky things, so has to be dumped. Plus it’s a work out to coil the hose into the pot! This is the perfect answer! I’m going to show this to my hubby (only because maybe he’ll make it for me if I paint it – that’s how I roll! LOL!). Thanks for the idea! Julia
Love this so much Liz! Great job!
I love this! I can’t wait to show this idea to my husband so classy! Great job girl! 🙂
What a great idea! Sharing on my FB page. Thanks for linking up to Monday Funday!
Well done..!! I will also try to do the same.
You amaze me girl! You do projects, you bake, you craft…what don’t you do? 🙂
So smart Liz! Love it!
Thanks for sharing this project. It looks like a good way to store your hose when not in use.
That’s such a great idea! I could totally handle something like this! I like that you can paint it to match your space and it’s a lot less than the fancy ones you can buy!
My garden hose just lies in a tangled mess on the ground, so I would love to do this project — thanks for posting!
This is an awesome hose caddy that is pretty enough to be placed in the side yard and visible from the street. Thanks for the great idea.
Hi, looks great!! you’ve inspired me to fix my broken piece of wood that my water spigot is attached to. I can do you’re hose holder and attach spigot at the side, I think. Thanks for posting this 😉
That sounds perfect, Susie! I’d love to hear how this turns out! Have a wonderful weekend, and thanks for stopping by. 🙂
LOVE THIS! Ive been wanting to do this for along time now thanks for inspiring me!
You are so welcome, Deidre!! Have fun creating!
I am in the process of spray painting my post and holder. I started to spray the walmart holder but it started to somewhat bubble up. Is there where the primer comes in handy? Also since you did this last year, has the paint faded at all from the post or holder? Thanks!
Hey Jayme! Using a primer first will definitely help, depending on what time of spray paint you’re using. It will also help the paint last longer as well. My hose holder has endured some rough Indiana winters, and I usually have to give it a little paint refresh in the spring time. I hope this helps! Enjoy your new garden hose holder!
I noticed the post is 8′ and you buried it 1.5′ so that means about 6.5 feet are above ground. Is that correct? The finished product just doesn’t look that tall.
Hey Lisa! Looking at the photos now, it may be buried a little deeper than that, but not much. The pictures just make it look shorter, I think!
Taking another look at the instructions, I cut the 8′ long post in half to make two holders, one for the front of the house and one for the back. I apologize for the confusion!
Looks like she had the 8 foot post cut in half to make (2) 4 foot posts (for 2 holders), so if it’s buried 1.5′, it’s only 2.5′ above ground. Is that correct?
Yes, about 2 1/2′ of the post, plus the add-ons on top.
Great project. Can you recommend a brand of sealer? And I’m curious – how did they hold up over the winter?
Of course! I used a spray sealer for convenience purposes. I like this one by Rust-Oleum. Mine sits out year-round so it definitely needs touched up after a long Indiana winter, but the spray paint makes it a quick job. Hope this helps!
If they are the right size for a 4×4 post, you could use a fence top cap with a solar light instead of the pieces of wood and the finial.