
Make Dad feel like a super hero this Father’s Day! Use this easy tutorial to create your own kid’s heat transfer T-shirt to let Dad know just how special he is. Your kids will love showing off their own custom shirts!
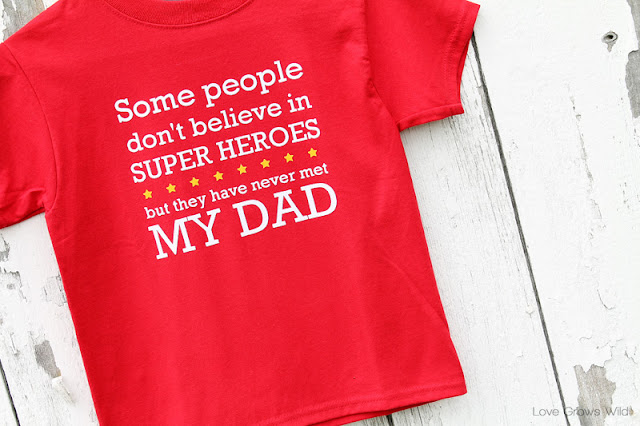
Father’s Day is just around the corner, and I’ve been trying to come up with a great gift for my kids to give to my husband. The boys are all about super heroes, and what better way to show their Daddy how awesome he is than with this adorable shirt?
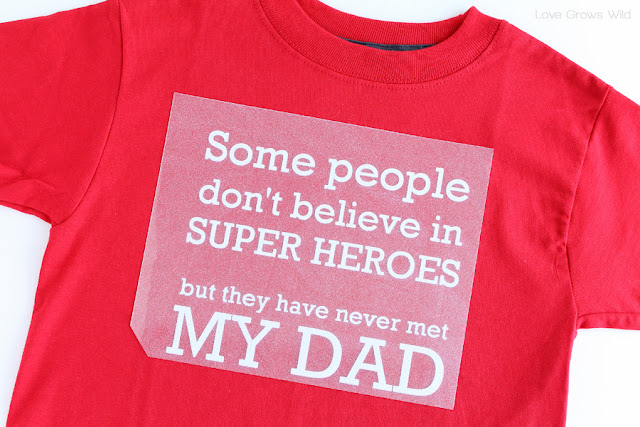
“Some people don’t believe in super heroes,
but they have never met my Dad!”
Here’s how I made it:
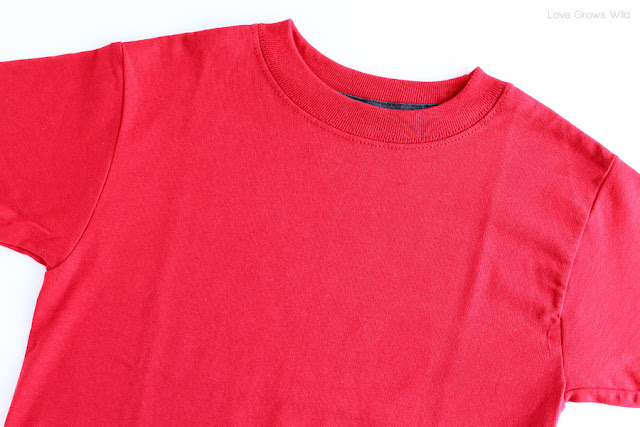
I took a kid’s cotton t-shirt and measured the area where I wanted the design to go.
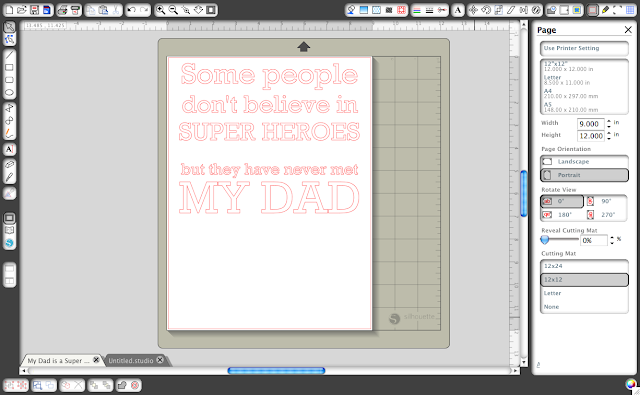
Then I opened my Silhouette Studio software and sized my page to those dimensions. I typed the text I wanted, leaving a small space after the word “super heroes” so I could add some stars to the design in another color.
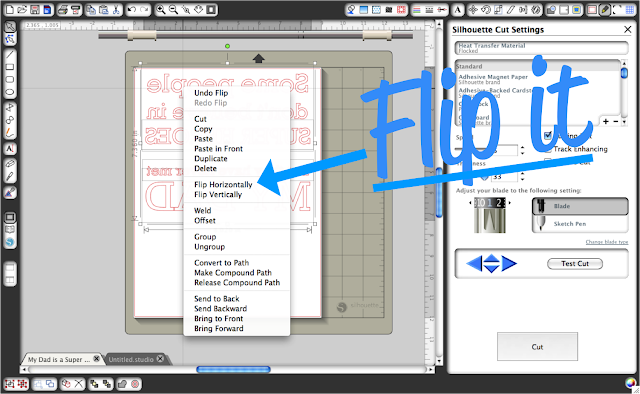
VERY IMPORTANT: Then I mirrored my design so the text appeared backwards on the screen. To do this, just right click on your design and select flip horizontally.
To put my design on the T-shirt, I used my Silhouette CAMEO (which I freaking LOVE!) and Silhouette’s flocked heat transfer material. It is so easy to work with and can be used on so many different projects! Shirts, aprons, onesies, pillows, curtains, bags… you name it!
* * * If you don’t know what Silhouette is, click here! I use my Silhouette cutting machine all the time, and it makes my life so much easier! There is a great promotion going on right now, with details at the bottom of this post!
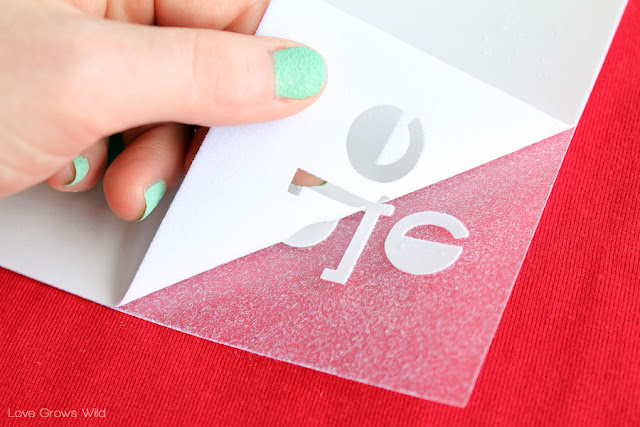
I loaded a sheet of white flocked heat transfer material, glossy side down, into my Silhouette without using the cutting mat. I made sure “Flocked Heat Transfer Material” was selected in the Silhouette software’s media menu and pressed cut. I peeled back the negative space of my design, only leaving the part I wanted to transfer on the clear plastic transfer sheet.
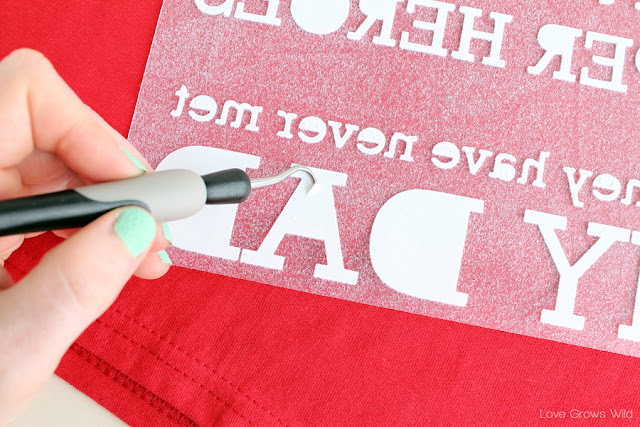
I used my Silhouette hook to easily remove the insides of the letters. That thing is so handy!
Then I positioned my design on the t-shirt with the heat transfer material on bottom and the clear transfer sheet on top. The text should no longer be backwards.
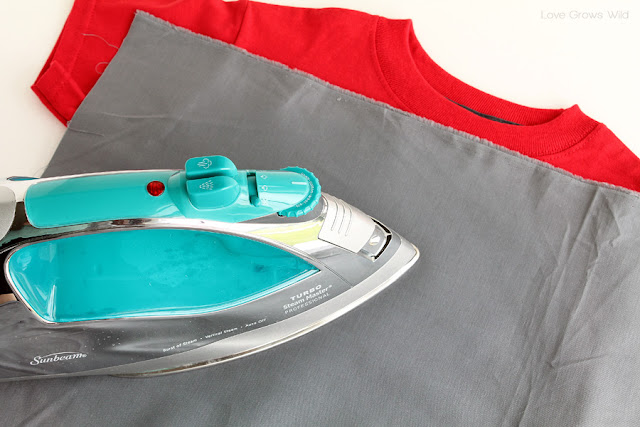
I took a scrap piece of fabric from my kid’s bicycle drawstring bag and laid it on top of the design. I ironed over the design pressing FIRMLY for about 45-60 seconds. Make sure you hold the iron over each part of the design for the full amount of time.
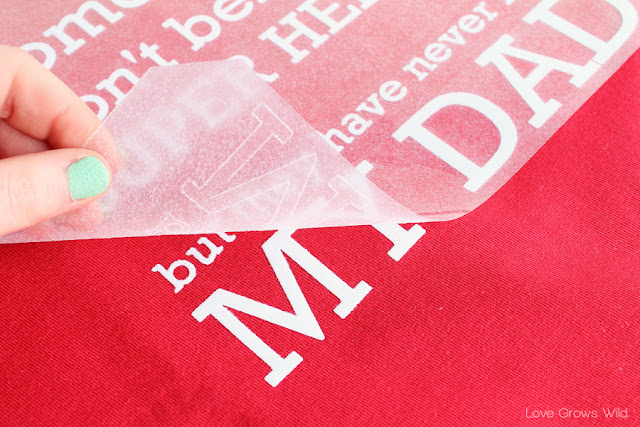
I gently peeled off the transfer sheet, making sure the whole design had transferred to the shirt. If your material continues to stick to the transfer sheet, replace the cloth and iron again making sure to apply pressure. I had to do this a few times until it all stuck. But once it did, it looked awesome!
I went back into my Silhouette software and found a star shape in their online store. (You can find the shape I used here.) This shape came with 3 stars, so I first ungrouped the design by right-clicking the stars and selecting “ungroup.” Then I deleted two stars and resized the remaining star to fit in between the space I left in my text. I duplicated the star until I had a row stretching across, then I repeated the cutting process using yellow material and transferred it to the shirt.
And “POOF”! I have the perfect gift for Father’s Day!
(Is poof a super hero sound? Go with me on this, okay?)
The shirt turned out even better than I imagined! My Silhouette did all the hard work for me, and I get to take all the credit for such a thoughtful gift. And I saved my husband from getting yet another “World’s Best Dad” coffee mug. AND my kids get a cute new shirt to show off!
… I’d say I’m quite the Super Mom myself! Don’t you?
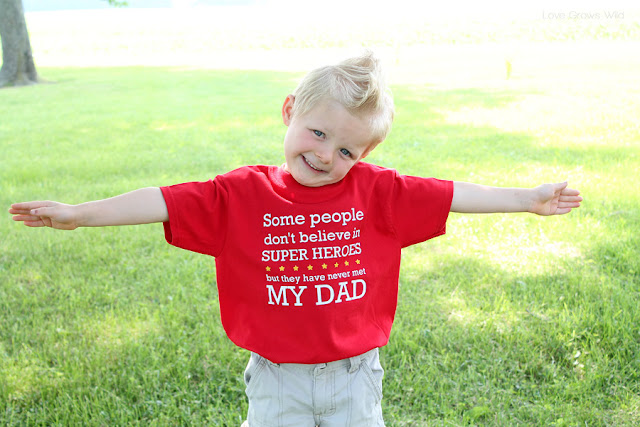
“We love you THIS much, Daddy!”
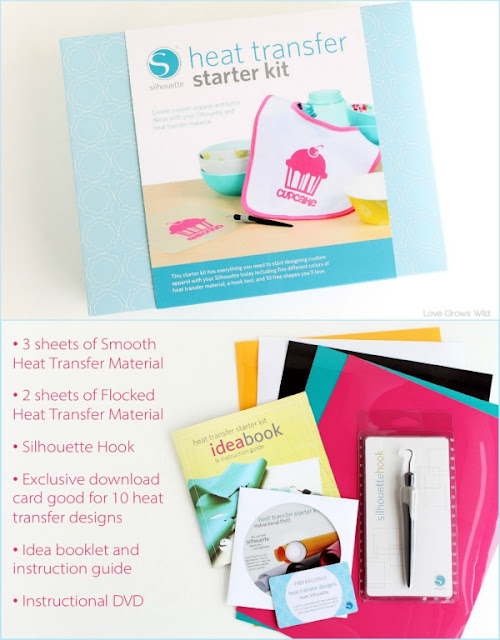
All the materials I used to make this shirt (except for the Silhouette machine and shirt itself) came in this awesome Silhouette Heat Transfer Starter Kit. The kit comes with everything seen below including some transfer material to get you started and that handy Silhouette hook I told you about!
Right now you can get a FANTASTIC deal on a
Silhouette machine bundled with the Heat Transfer Starter Kit
OR
if you already have a Silhouette machine,
you can get all heat transfer material Buy 1 Get 1 FREE!
Click here to see all the promo details and make sure to use the code LOVEGROWS at checkout to receive your discount!
There’s also some great video tutorials for using the heat transfer materials and other projects I’ve done with my Silhouette. I’m telling you, once you go Silhouette you’ll never go back! : )
Let’s Keep In Touch!
P.S. I’m sharing this post at some awesome link parties… Check them out HERE!






Thats an adorable project but sadly I don’t own a silhouette as of yet. Is there another way you could do it without a Silhouette?
You could try to cut the letters by hand, but I would try getting some letter stencils and some paint! It would be much easier to do and just as cute!
Such a cute phrase for a kid’s shirt! Adorable!
How adorable! That is the cutest thing ever!
This is so cute!! Just love it!
This is soooo cute!!
That is awesome! My kids would be proud to wear this shirt. Going on the same lines, they picked out Batman and Superman boxers for Father’s Day(5 and 3 years old, they love their character underpants.).
Love the quote and such a cute little man! I’m sure his Daddy is going to be beaming.
I found you via Sugar Bee Crafts. If you’d like, I would love if you shared this at my Show & Tell party this week.
http://www.gingerlymade.com/2013/06/show-tell-30.html
A really cute idea and the model is adorable!
What a fabulous idea!
Super awesome, Liz!!