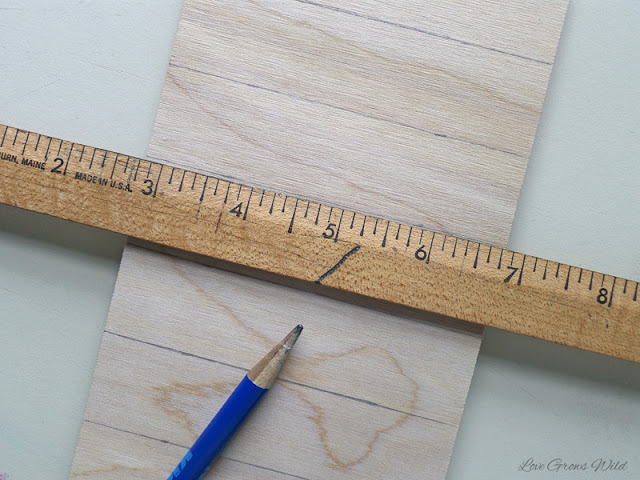
I used our new miter saw (swoon) to make quick work of cutting each section, making sure to be VERY careful with my fingers once I got close to the end.
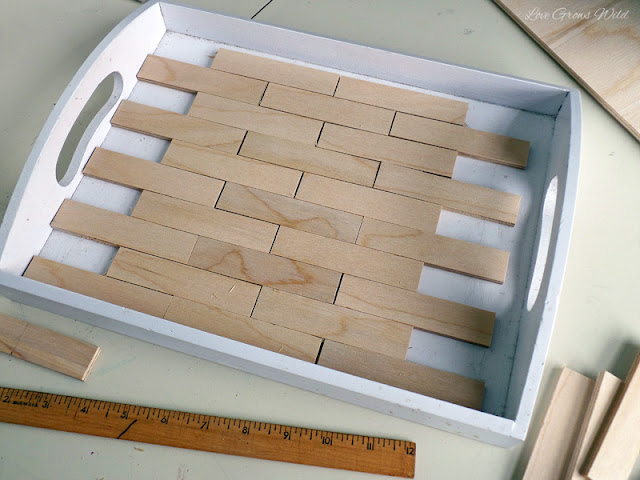
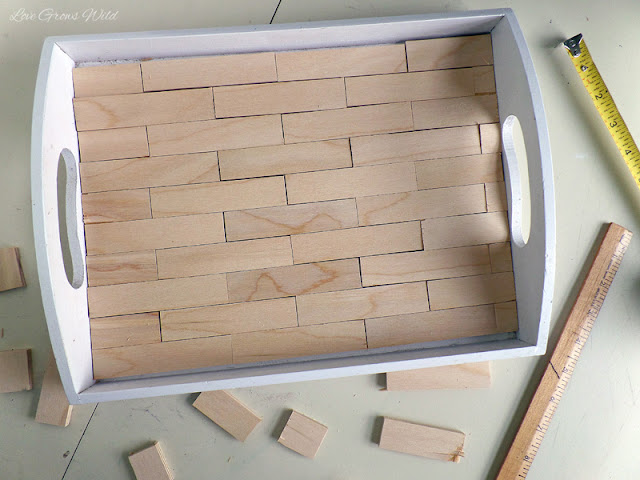
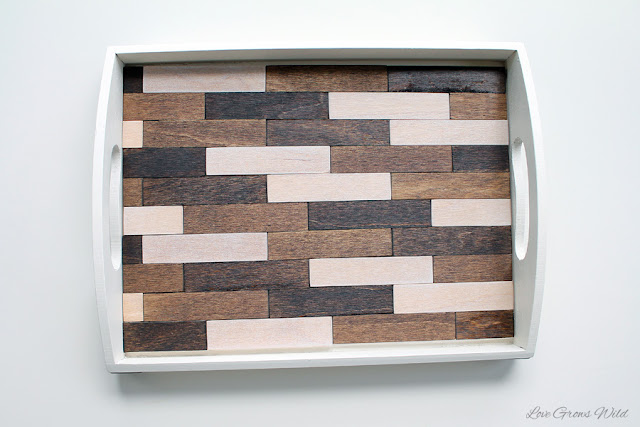
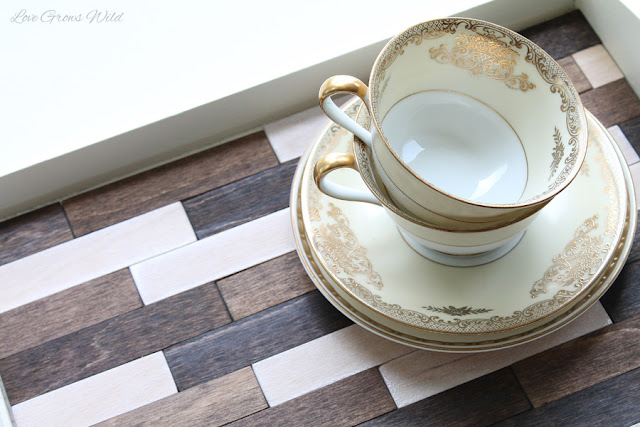
Then I laid my wood pieces in the tray in a brick pattern. (Better Homes & Gardens tells me it is called “running bond”) I started the first row flush against one side of the tray, then started the next row halfway down the first piece (2″ down in this case). I measured the rest of the pieces I needed to complete the pattern and made the cuts. I needed 5 – 2″ pieces, 5 – 2 3/4″ pieces, and 5 – 3/4″ pieces.
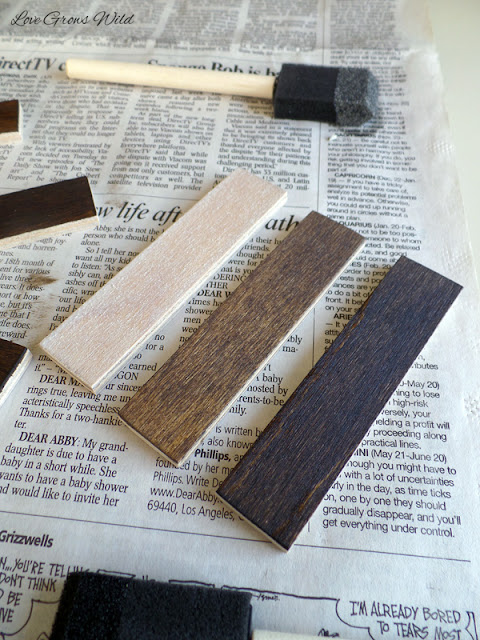
Next it was time for the fun part, staining! Rather than staining them all one uniform color, I decided to do various shades to create some interest. I took each wood piece out of the tray one at a time and wrote a number 1, 2, or 3 on the back with a pencil. I sorted the pieces by number and sanded down all the rough edges.
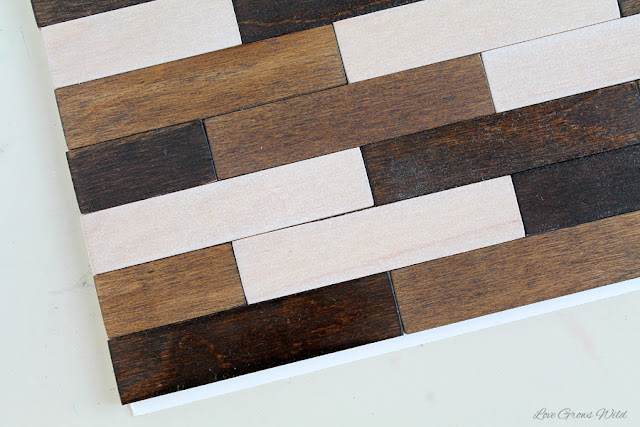
Instead of purchasing three new stain colors, I decided to use what I had: a dark walnut stain and a light gray stain called Sun-bleached. The first group I gave a good coat of dark walnut and let it sit until it dried. It created a gorgeous, deep brown color. For the second group, I did one coat of Sun-bleached, and once that dried I added a light coat of dark walnut on top. I only let it sit for just a second and wiped it off with a paper towel. It created a lighter wood with gray undertones. For the third group, I applied the Sun-bleached stain in multiple coats, since it is such a light stain on light wood.
P.S. I found it easiest to use small foam brushes for this project!
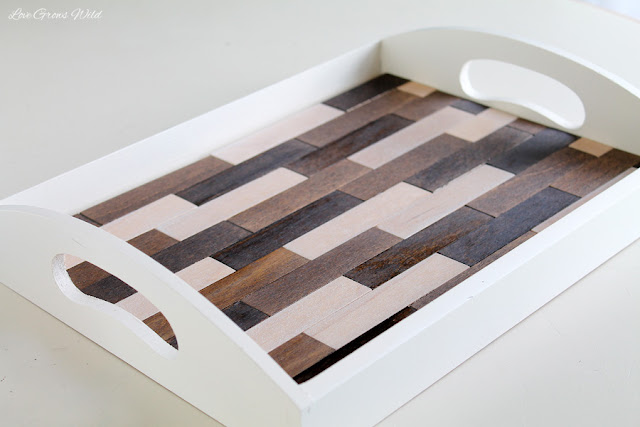
Instead of glueing the wood pieces directly to the tray, I decided to glue them to a piece of poster board I cut to fit inside the tray. Let’s face it, I’m a compulsive re-decorater, and you never know when the mood will strike again to switch things up. This will also make it easier to clean if something gets spilled!
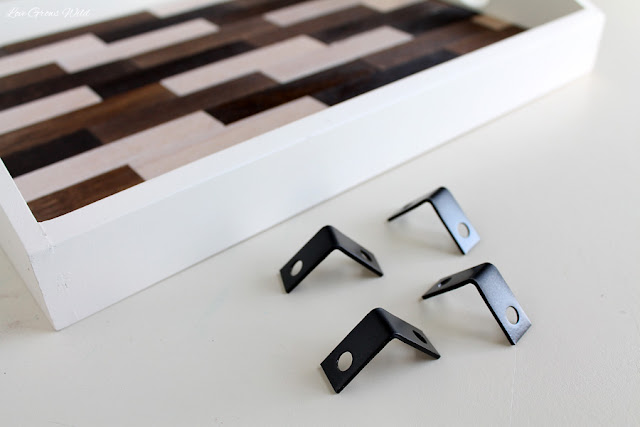
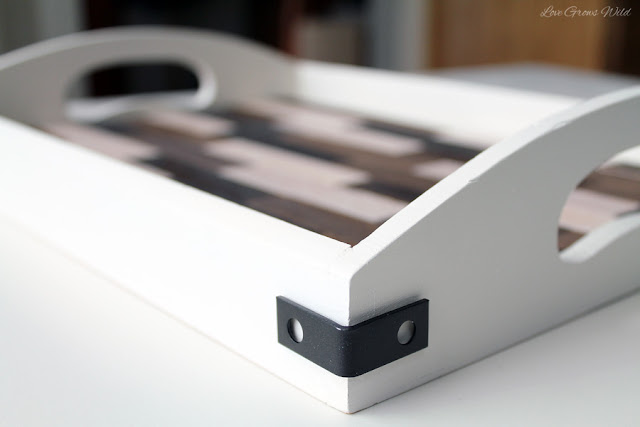
Even the smallest screws I could find were too big for the tray, so I decided to just hot glue them onto the corners. Simple, easy, and quick!
I’ve always said that I pictured my husband and I drinking coffee at this table and looking out the window to our family farm as we grow old together. And now we’re finally getting there : )
Let’s Keep In Touch!








I love that you made the tray to be easily changed. Gorgeous tray, inspiring foresight!
I love it all Liz!! The table is gorgeous, the light looks magazine perfect there, and I am totally in awe of your talent with the tray! Awesome job!
Looks so good! I love the tray makeover. I love seeing how your kitchen is coming along.
What a fabulous makeover. Great tutorial too. I would love for you to link up to my Inspire Me party that will be live Monday evening. http://www.astrollthrulife.net. Hope to see you there. Hugs, Marty
So crafty! WOW – really looks nice! Saw you at Shaken together life!
We would love it if you came over to Who Needs a Cape and linked up to our Super Sunday Party! It’s going on now! http://whoneedsacape.com/2013/06/super-sunday-party-4/
Your tray came out gorgeous! 🙂
amazing! the tray turned out beautifully
I love this project! I love the pattern that you made with the wood! I would love it if you would come and link this up at my link party
Dandelion Wishes Wednesday. I’m also pinning this 🙂
Girl, I love this project! It looks amazing!
So like your little table, the white is great for using different center pieces and whatever else you decide to put on your table.
Really smart to put the wood pieces for the tray on something so you can take it off if needed. That’s what I would have done also as I’m a changer at minutes notice, if that. I have a problem with commitment I guess.
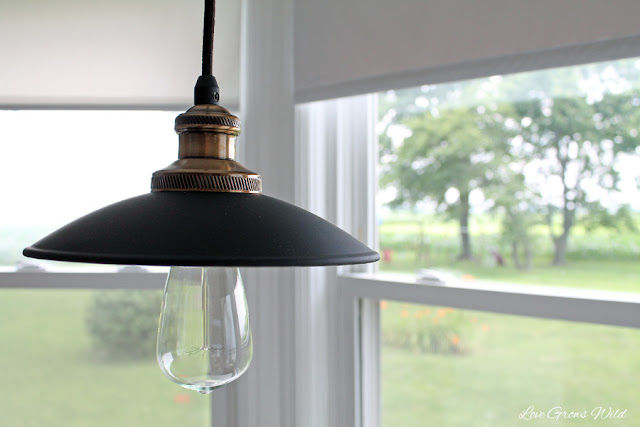
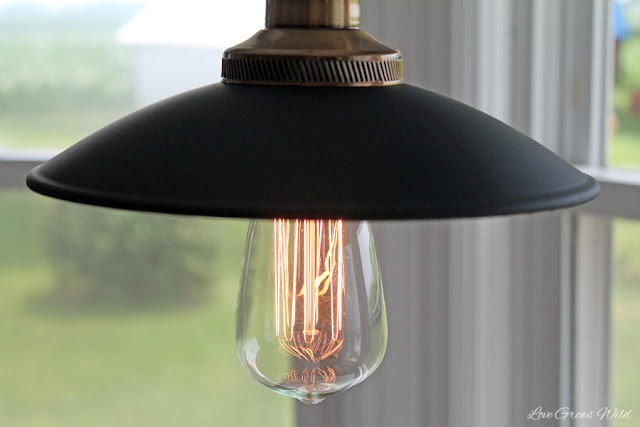
As much as I like ceiling fans (we live in western CO and it’s been in triple digits lately, no air conditioning, just a swamp cooler in front of mobile home) I think you were so right to take fan down to replace with that gorgeous light. The bulb is awesome, did you buy that at Lowe’s also? Somehow it didn’t look right with fan/light so close together before.
Think with other projects hanging with wood the tray is perfect for the setting it’s in and love those brackets on each corner. Happy 4th.
Thank you so much! I got the light at Lowe’s and the bulb came with it. But I have seen those bulbs at Lowe’s before too!
Wonderful job! I don’t think any other colors would look as great as yours do on the tray. It matches your space perfectly. And the Edison style pendant is so cool—very different and rustic.
You are so smart to glue the wood to poster board!!! 🙂 Love your new light, too!
The tray is fabulous! And your decision to put on posted board double fabulous. I would love to see the table, but the picture spot is empty 🙁
Thanks for the great wedding gift idea!
You already know I love every little decorative DIY you’ve been working on for your kitchen. 🙂 The table looks great (LOVE that light) and the tray is gorgeous! I’m including a link back in this week’s highlights. Thanks for sharing your creativity, Liz!
Congrats!! You have been featured at The DIY Dreamer!! YAY! Come on over and grab your featured button, you deserve it 🙂
http://thediydreamer.com/from-dream-to-reality/creations-features-74/
I love this project!! And, that light?? Amazing!
I featured you this week: http://www.52mantels.com/2013/07/diy-home-decor.html
Your room looks fabulous Liza and this tray is just GORGEOUS! Pinned and featuring tonight!
I’ve been wanting to do a tray just like this! So jealous you beat me to it. 😉 I love your version and especially love that you made it so the design could be changed out. I am the same with with changing my mind! Well done! ~M.
http://redesignedbym.wordpress.com/
very simple but beautiful makeover