Looking for some easy DIY kitchen decor? Learn how to create a Numbered Plate Display and a simple paperclip trick for hanging your plates!
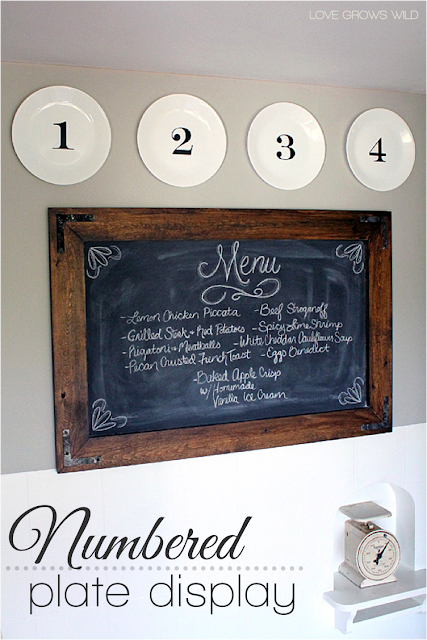
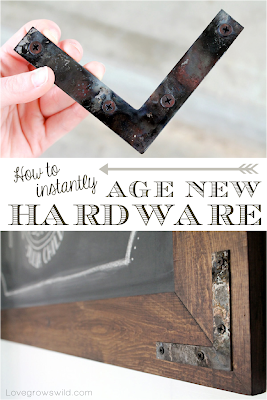
If you’re just tuning in, I’m in the middle of a mini kitchen makeover! I have a few projects completed so far, and I’m loving the new look. Last week I shared my DIY Rustic Industrial Chalkboard and how I instantly aged new hardware for the frame. It filled up the blank wall in my kitchen nicely, but there was still some space above the chalkboard that needed decorating. It just didn’t look complete yet! After going back and forth on what to put there, I finally decided a row of bright white plates would fit perfectly. It is a kitchen after all!
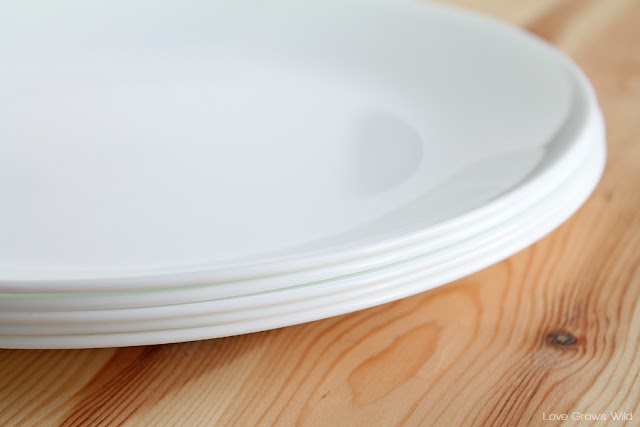
So the other day I loaded up my kiddos and went to several different stores to find the white plates I wanted for my display. (Fun summer break they’re having, huh?) Some plates I found were too expensive and others were a dull, grayish-white. I found some I liked at Goodwill for cheap, but of course they didn’t have more than one or two. I finally went to one more store (WalMart) and found these round, white Corelle plates for $3.34 each. They were the right color, right size, lightweight, and break/chip resistant! Still way more than I wanted to pay, but after dragging my kids through four stores, we had all had enough of plate shopping : )
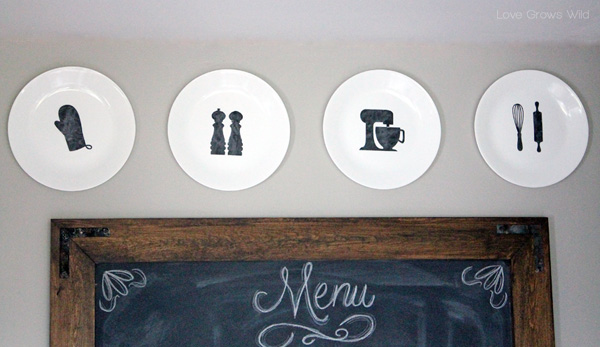
My original idea for the plates was to use my Silhouette CAMEO to cut out vinyl in various kitchen utensil shapes and stick them onto the plates. I found some really cute designs at the Silhouette Online Store like these salt and pepper shakers, along with a stand mixer and a whisk, rolling pin, and oven mitt.
But when I hung them on the wall , they just didn’t look right to me. I loved all the designs, but when hung all together they were too bulky and cartoonish. I even tried rubbing some chalk over the designs to give them a chalkboard look, but it just didn’t seem fit the rustic vintage kitchen I was picturing. So after sleeping on it for a night, I went back to the drawing board!
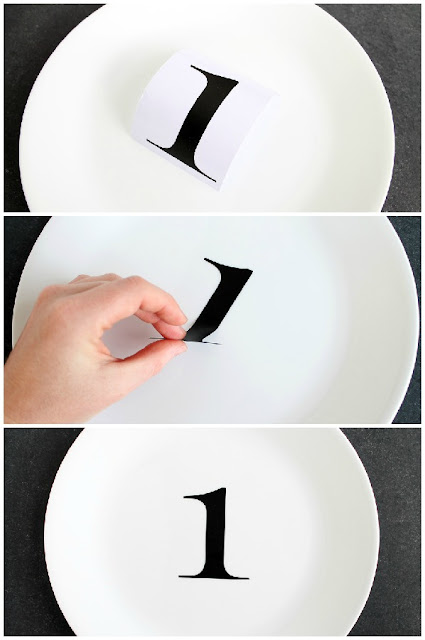
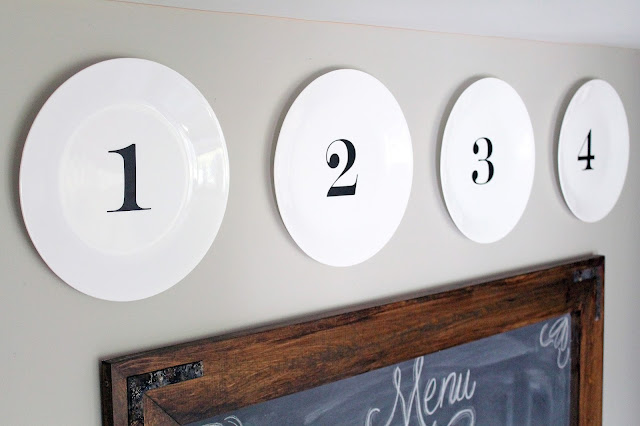
I opened my Silhouette software again, but this time instead of purchasing designs from the Silhouette website I used the text tool to add simple numbers using the Engravers MT font.
I loaded a roll of black vinyl into my Silhouette, and cut the design from my computer. I seriously LOVE that machine! Then I just peeled off the vinyl number and stuck it to the center of a plate. SO easy!
I had already spent more on the plates than I wanted, so I had no desire to buy expensive plate hangers for my cheap, plastic dishes. I searched for DIY plate hangers and found a great idea from The Frugal Homemaker: use paperclips!
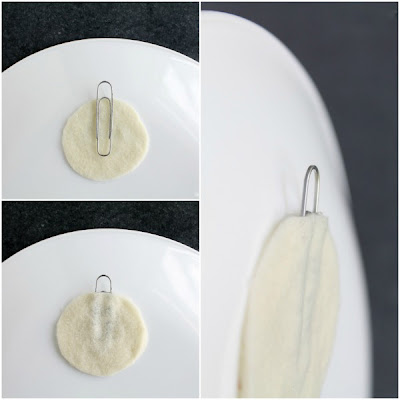
I cut out circles from extra felt I had laying around and gathered a few large paperclips. To create the DIY hanger, I first hot glued one felt circle to the top of the flat part of the plate. Then I hot glued my paperclip to the center of the circle with the top sticking above the felt. I hot glued another felt circle on top of the paper clip and pressed down firmly to sandwich them all together. You can see how the top of the paper clip sticks out perfectly to hang on a nail. Who knew paperclips could make such quick, cheap, and easy DIY plate hangers?
– I tested out the strength of the hangers before putting them up on my wall, and I have to say that I don’t think these suckers are going anywhere! If you have heavier plates or are worried the paper clips won’t stay, you can use a stronger adhesive like E-6000 glue.
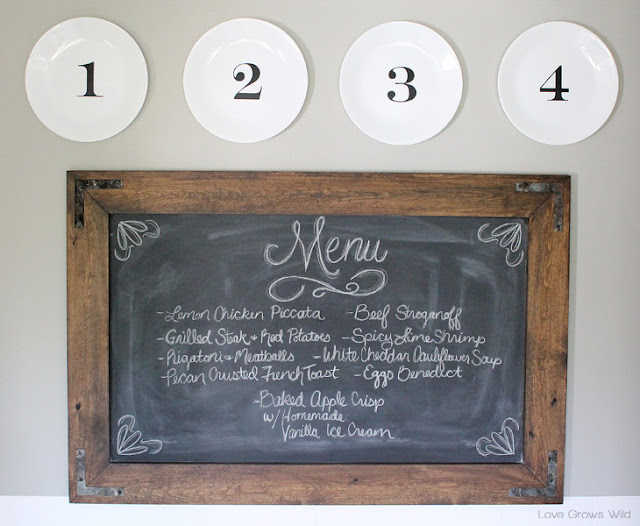
I hung the four plates up over my chalkboard using a tape measure, level, and some math skills, and I am SO much happier than my first attempt a plate display!
The round, bright-white plates contrast perfectly against the hard angles and rustic look of the chalkboard. And I just love the simplicity of the numbers! Sometimes simple is just better. Not to mention how much my youngest son loves standing in the kitchen counting the plates. He thinks I made them just for him!
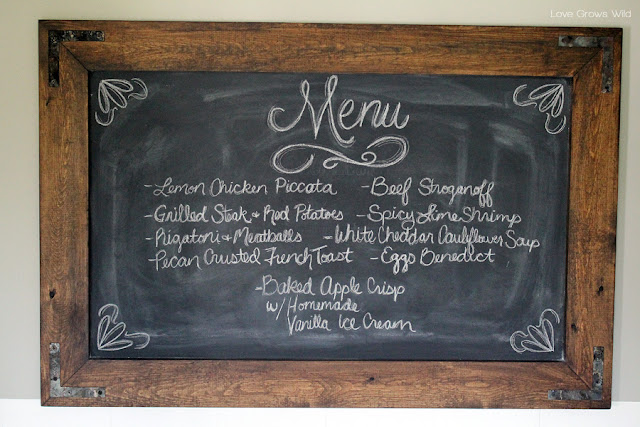
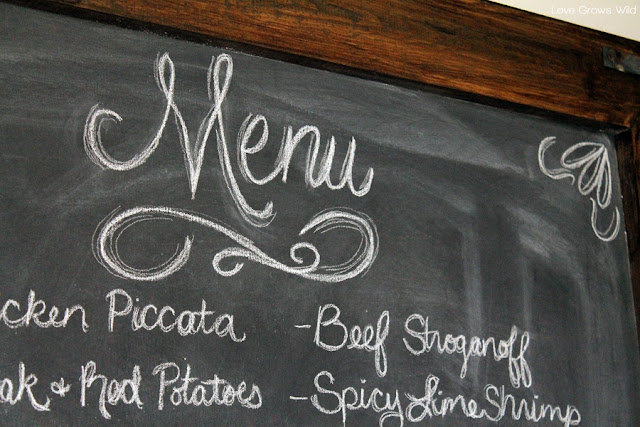
I also decided to change up the old design on my chalkboard to this simple menu board to keep track of our meal plan for the week. This definitely helps me use up the groceries we’ve purchased and avoid that “let’s just go get McDonald’s” excuse.
So there you have it! A beautiful and inexpensive kitchen plate display with DIY paperclip plate hangers… Success! That’s another kitchen makeover project in the books, and I can’t wait to start the next one!
So what do YOU think? Would you have kept the original kitchen designs I used or changed them out for the simple numbers? I’d love to hear your thoughts!
Check out other projects from the kitchen makeover:
Let’s Keep In Touch!
P.S. I’m sharing this post at some awesome link parties… Check them out HERE!







I like the numbers but I also liked the other plates too. I think the numbers finish off the look better! Love it!
I love the plates hanging above the chalkboard. I have a soffet in my kitchen and you have given me an idea to use up there.
I love the plates hanging over the chalkboard. I have a soffet that goes around my kitchen and you have given me an idea to do up there. Thank you!
The numbers look great! Clean & simple. I saw that tip form Frugal Homemaker recently and I need to try that plate hanging trick.
– Lora @ Craftivity Designs
Love those numbered plates! I featured you today on my Kick-Off Friday post. Have a great weekend!
http://craftivitydesigns.blogspot.com/2013/06/kick-off-friday_21.html
Erica @ Craftivity Designs
I love the plates! And what a great tip about hanging them! Totally love the chalkboard, too! So pretty! 🙂
What a clever and easy idea! These plates look just lovely.
I love your plates, Liz! So simple but what a great addition. Your chalk board is lovely, too.
I’m visiting today at Sunday Scoop. I hope you get a chance to visit my blog, too. I’m co-hosting the DIY Showcase and would love for you to come by and link up!
~ Megin of VMG206
Open Now! DIY Showcase ~ Come Link Up!
I love this. Such a simple and elegant way to decorate. Thank you for sharing. I’d like to invite you to our Organize Me! Sizzlin’ Summer Link Up Party at Get Your Crap Together!
Absolutely gorgeous! They add the perfect touch! Thank you for linking up to the Inspiration Exchange!
your kitchen wall plates are darling. So much better with numbers!
Love all the plates…I’m looking to do something fun in my kitchen like this thanks for your inspiration! This is soo cute! Come link up to centerpiece Wednesday linky party and share this post with us. http://thestylesisters.blogspot.com/2013/06/4th-of-july-decorations-and-centerpiece.html
Karin
That is really nice! Would you consider linking this up with me? Thanks! http://www.familyhomeandlife.com/2013/06/wow-us-wednesday_26.html
So pretty! I just love how the plates look with the chalkboard!
What a cool look Liz; I love it!
Love these- they came out so cute! Thanks for linking up at Feathered Nest Friday!
Adorable! I’m loving all of your mini-kitchen makeover projects, Liz! I’m including a link back in Monday’s DIY highlights. 🙂 Thanks so much for sharing!
I have the plates, the large paperclips and now all I need are some cute numbers and I’ll have a cute wall of plates, too. Great idea and thanks for sharing.
I can buy numbers at the office supply but they aren’t very pretty…too plain. I’ll google and bet I can find some good looking ones like yours.
It sounds like you’re on your way to a gorgeous plate wall!! And I’m sure you could find some vinyl number stickers, especially on Etsy. Best of luck with your project, and I’m sure it will look BEAUTIFUL in your home!