
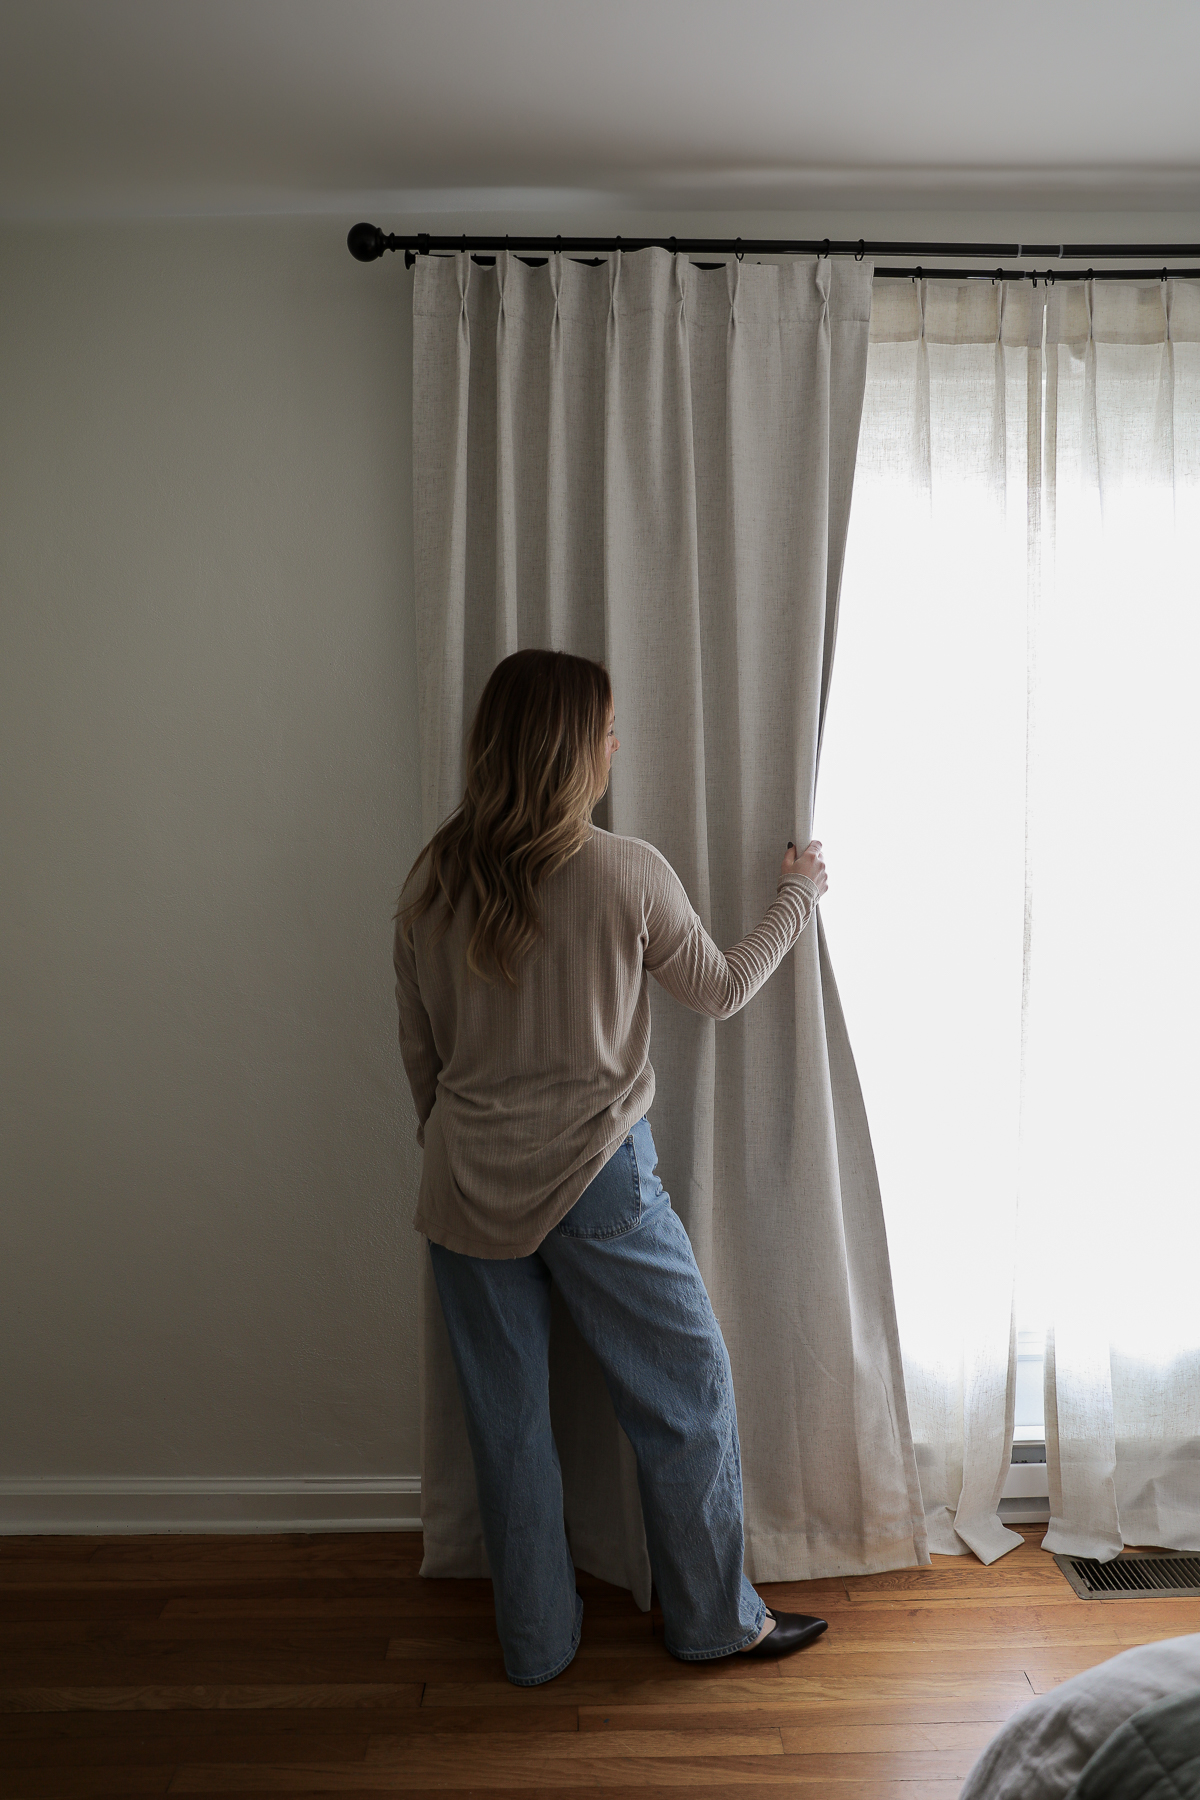
You know when you go to open your curtains and instead of gliding smoothly across the rod, they get stuck somewhere along the way? I have adjustable curtain rods in my master bedroom because they’re more affordable than custom, but the uneven joints where the pieces connect make it nearly impossible for curtains to slide smoothly across.
It’s one of those small, everyday frustrations that just wears on you over time. So after years of the same frustrating battle every morning, I finally decided to fix it, and it turned out to be the simplest five-minute project with the biggest payoff.
Here’s exactly how I fixed it, and why I wish I’d done this sooner.
The Problem: Stuck Curtains
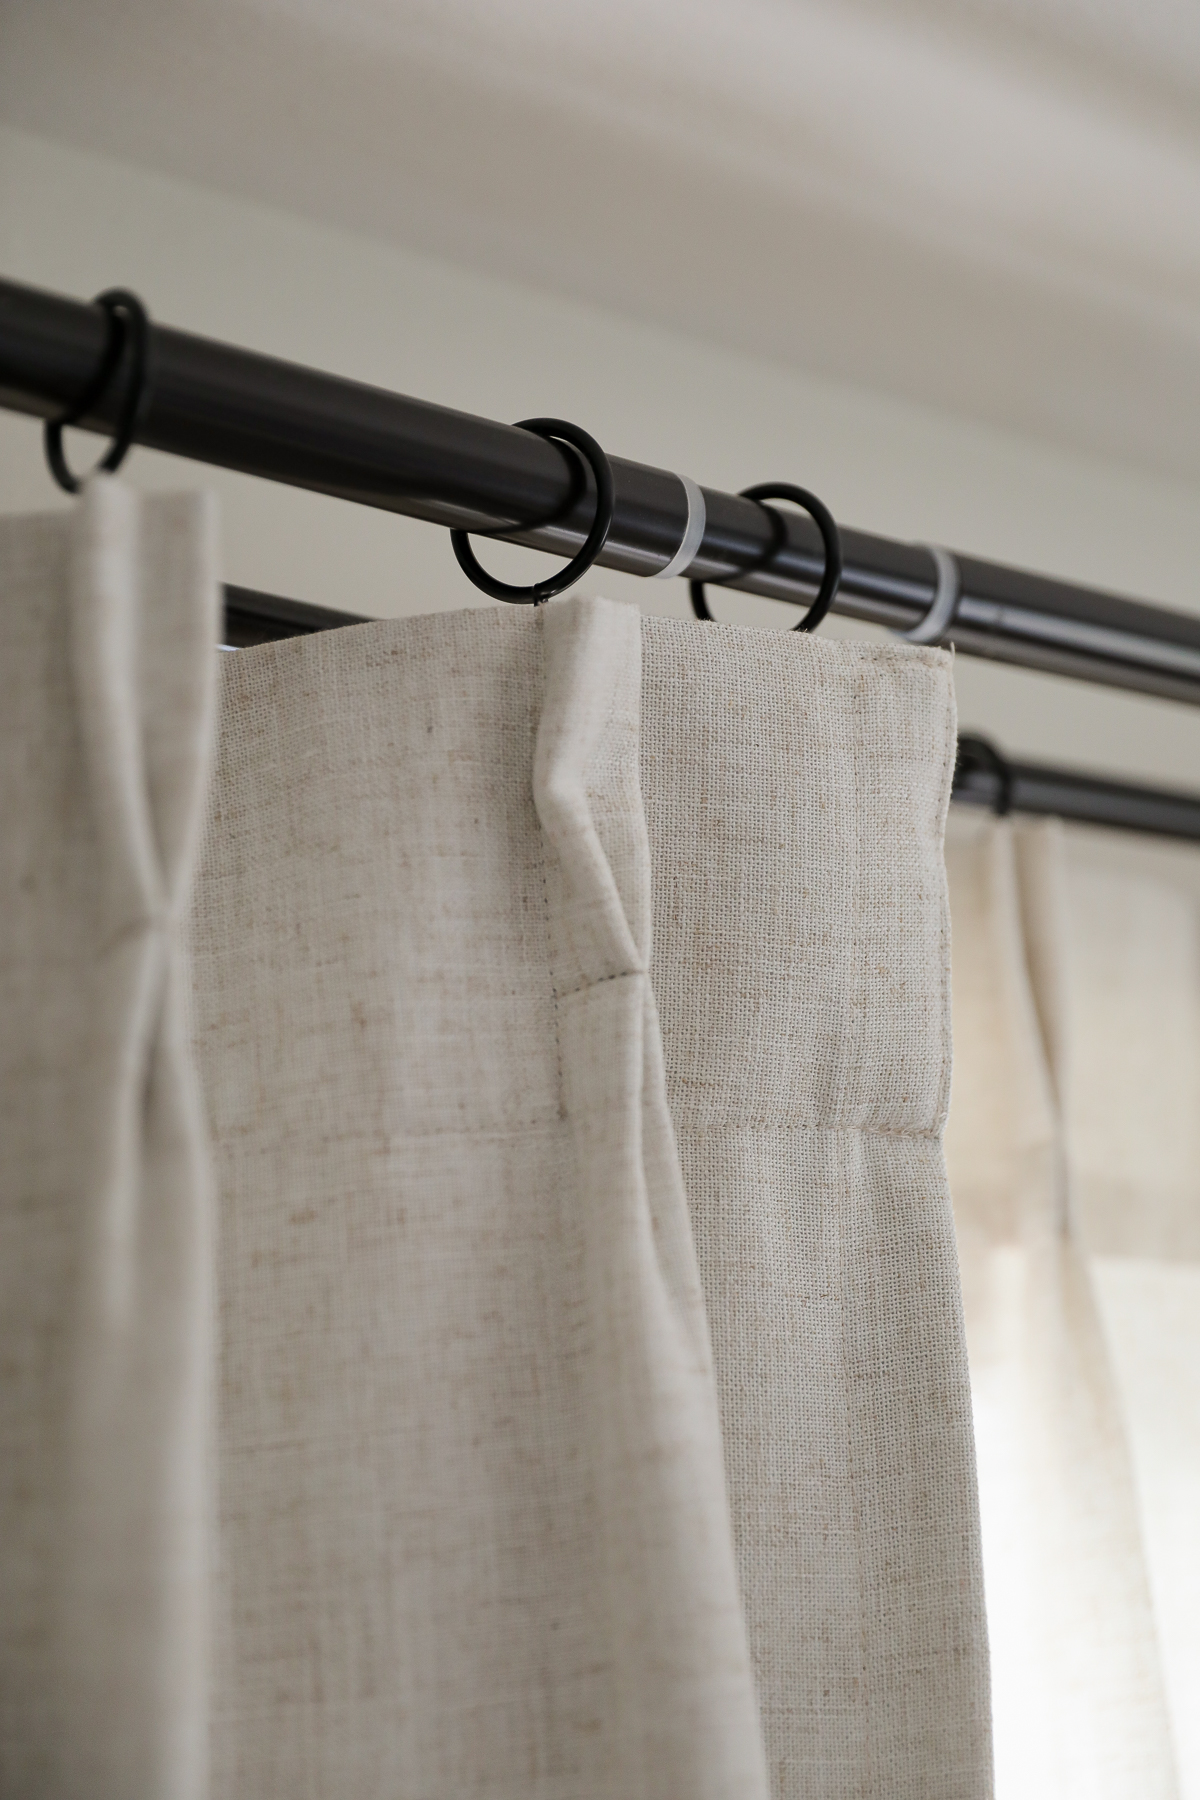
Most adjustable curtain rods are made up of two or three separate pieces that slide inside one another. It’s great for customizing the length, but not so great when your curtain rings have to move across those uneven joints. The slightly different diameters where the rods connect create small ridges that the rings love to catch on.
The Solution: A Simple Roll of Tape
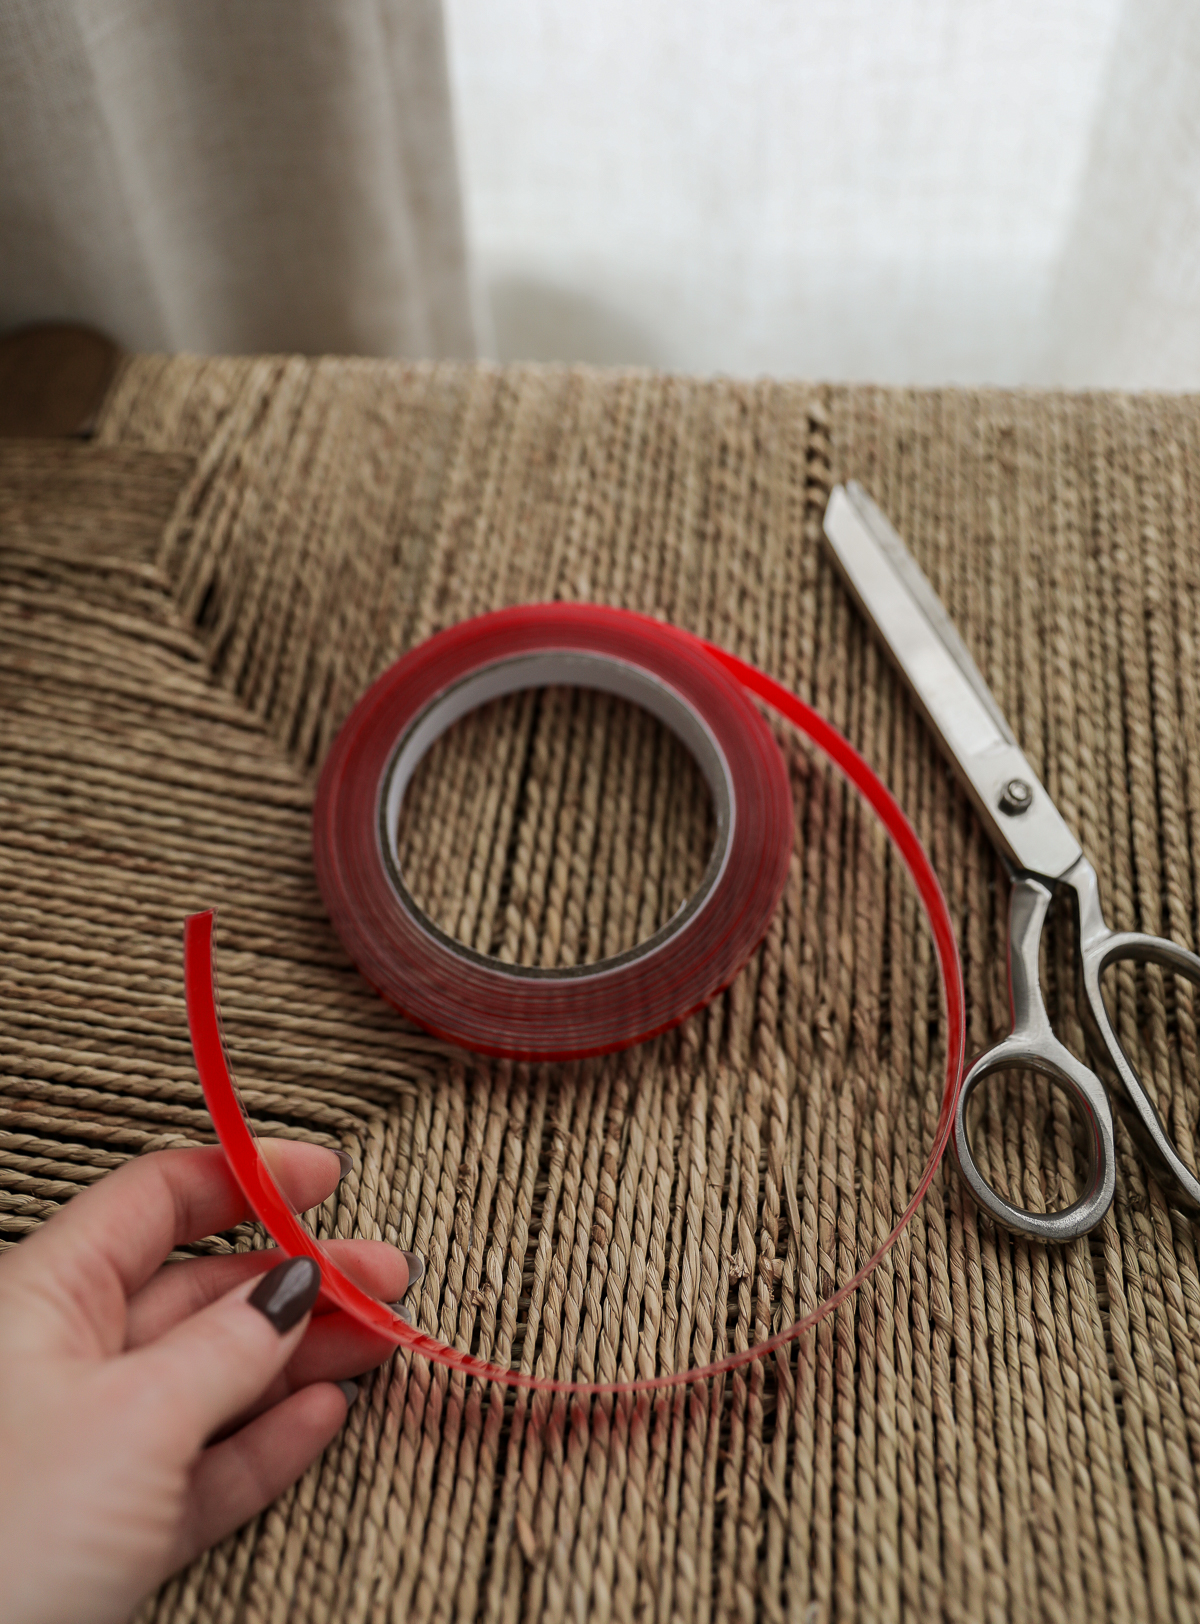
After searching high and low, I found this clear adhesive glide tape that sticks right along the top of your curtain rod to smooth out those uneven joints.
It’s designed to create a seamless, slick surface so your curtain rings can glide quietly and easily from one end to the other. The best part? It’s completely clear, so you can’t even see it once it’s on.
And since testing the glide tape in my master bedroom this week, I can confirm — yes, it really does work!
How to Fix Stuck Curtain Rings (Step-by-Step Tutorial)
Here’s how to do it in just a few minutes:
- Clean your curtain rod
- Use an alcohol wipe (several come with the roll of tape) to remove any dust, residue, or oils. Let it dry completely before applying the tape — this helps the adhesive stick securely.
- Measure and cut your tape
- Adjust your curtain rod to the exact length you want (you won’t be able to move it afterward). Then, cut a piece of tape that’s just slightly longer than the rod. You can trim the excess at the end.
- Start applying the tape
- Peel back the red adhesive liner a little at a time and press the tape along the top of your curtain rod, smoothing as you go. Keep it in one continuous piece for the best result.
- Work around your curtains
- You don’t even have to take your curtains down for this. Just push them all the way to one side of the rod and start applying the tape on the opposite end. When you reach the curtains, slip the remaining tape through the rings (with the red backing still on), push the curtains to the other end, then finish applying the rest.
- Trim and smooth
- Once the tape is applied, trim off any extra length with scissors and press the edges down firmly to make sure it’s secure.
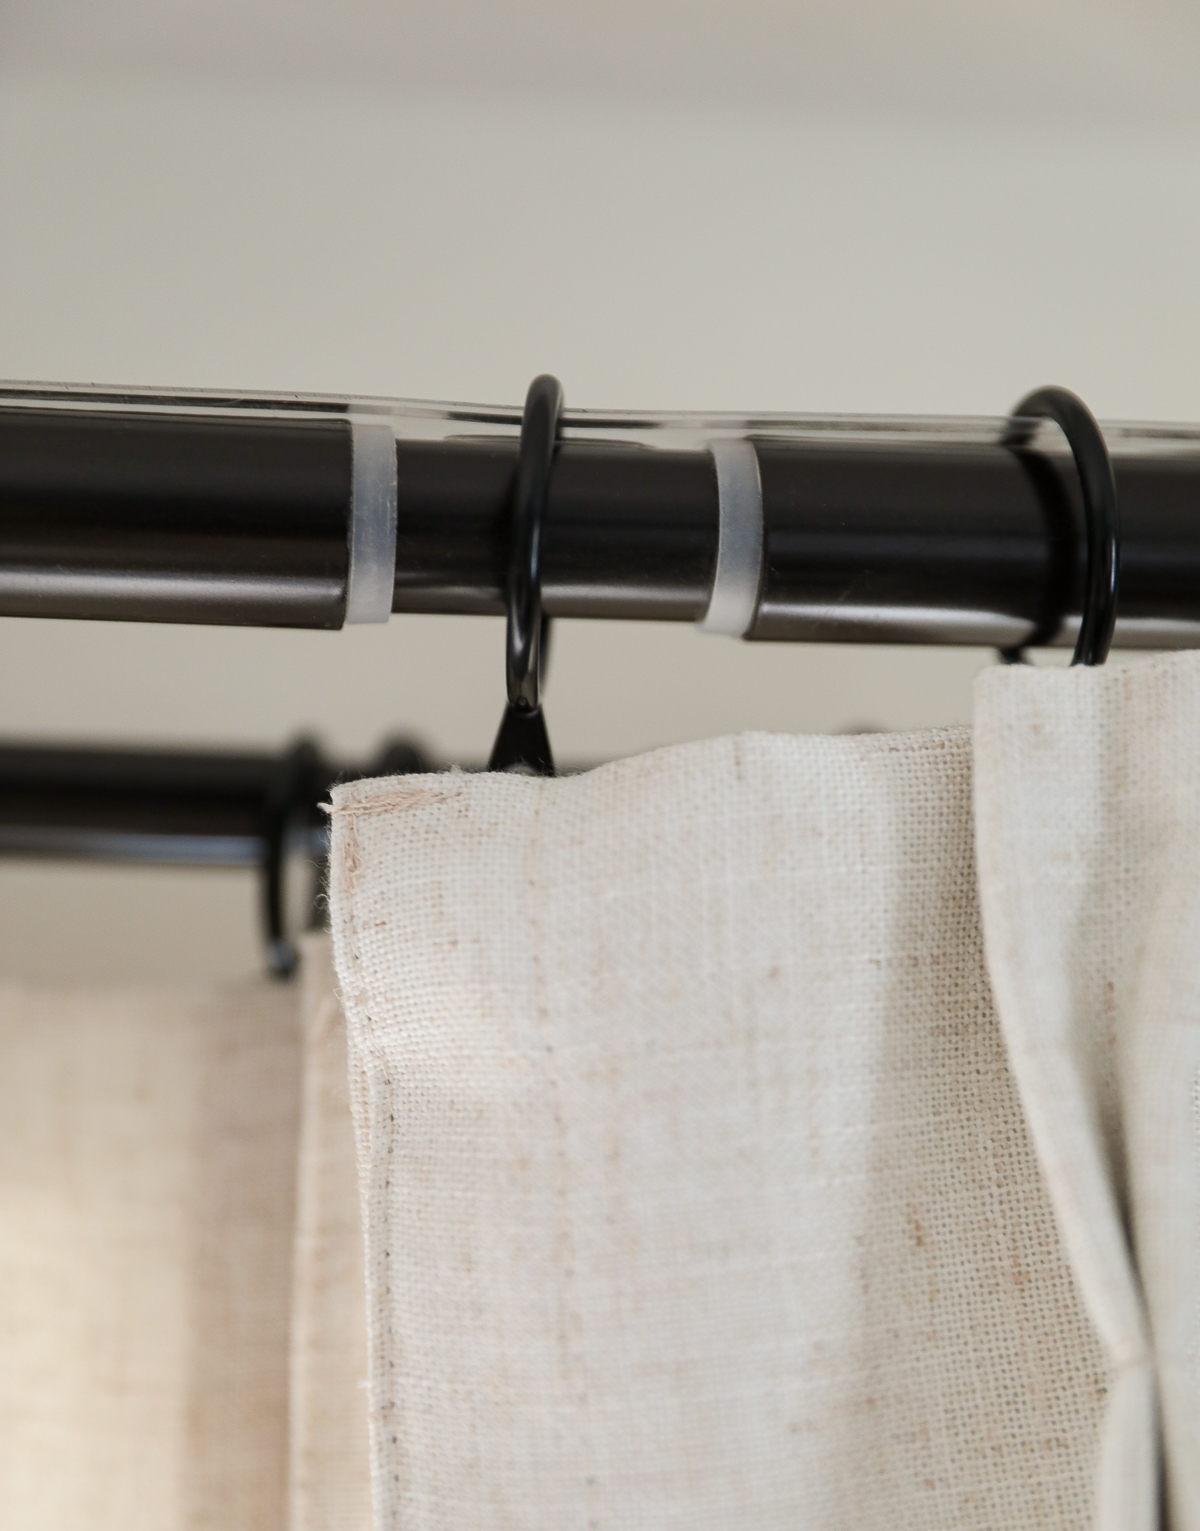
Not to be dramatic, but I can’t believe how effortlessly my curtains slide open now and how much of a difference this makes. I’m considering doing this for my shower curtain too because it has the same issue! And since the tape is totally clear, you can’t even see it once it’s applied. Unless you’re standing on a ladder inspecting the rod, you’d never know it’s there.
One thing I didn’t expect was how much quieter it is when you don’t have metal rings scraping across a metal rod — major bonus! This was one of those tiny upgrades that makes your home feel calmer, more functional, and just a little bit more enjoyable to live in.
If your curtains have been driving you crazy, this might just be the easiest, most satisfying five minutes you’ll ever spend on a home project. Let me know if you try it!
SHOP MY BEDROOM

blackout pinch pleat linen curtain | sheer pinch pleat linen curtain
glide tape | curtain rod | curtain rings
MORE BEDROOM IDEAS
The Coziest Natural Bedding
Master Closert Makeover
The Pottery Barn Dresser Dupe
Why Scale Matters: Choosing Lamps That Fit Your Space
The Light Walls + Dark Rug Combo
9 Ways to Decorate Above Your Bed
Ultimate Guide to Better Sleep (And Why It Matters)
STAY CONNECTED:
Shop my Posts | Shop my Amazon Store
Join our Community | Follow on Instagram
Follow on Pinterest | Follow on Facebook

Leave Your Comments